I still remember the first time I tried long exposure photography ideas – I was determined to capture the perfect shot of a waterfall, but my photos ended up looking like a blurry mess. It wasn’t until I learned about the importance of _light trails_ and _motion blur_ that I began to understand the true potential of this technique. There’s a common myth that long exposure photography ideas are only for experienced photographers, but I’m here to tell you that with the right guidance, anyone can create stunning images.
In this article, I’ll share my favorite long exposure photography ideas and provide you with practical tips on how to capture breathtaking photos. You’ll learn how to experiment with different shutter speeds, aperture settings, and composition techniques to create unique and captivating images. From _cityscapes_ to _landscapes_, I’ll cover it all, and by the end of this guide, you’ll be equipped with the knowledge and confidence to try long exposure photography ideas on your own and take your photography skills to the next level.
Table of Contents
- Guide Overview: What You'll Need
- Step-by-Step Instructions
- Long Exposure Photography Ideas
- Unlocking the Secrets of Time: 5 Essential Long Exposure Photography Tips
- Key Takeaways for Stunning Long Exposure Photography
- Unlocking Timeless Moments
- Embracing the Art of Long Exposure Photography
- Frequently Asked Questions
Guide Overview: What You'll Need
Total Time: 1 hour 30 minutes to several hours
Estimated Cost: $100 – $500
Difficulty Level: Intermediate
Tools Required
- DSLR or Mirrorless Camera (with manual mode capability)
- Tripod (sturdy and reliable)
- Remote Shutter Release (or camera timer)
- Extra Batteries (for long exposures)
- Lens Cleaning Cloth (for maintaining image quality)
Supplies & Materials
- Neutral Density Filters (for achieving long exposures in daylight)
- Camera Strap (for securing the camera during transport)
- Memory Cards (with sufficient storage for multiple shots)
Step-by-Step Instructions
- 1. First, let’s start with the basics: to capture stunning long exposure photos, you’ll need a camera that allows you to manually adjust the shutter speed. This is crucial because it enables you to control the length of time your camera’s shutter is open, which is essential for creating those beautiful, blurry effects.
- 2. Next, you’ll want to choose a location with plenty of movement, such as a beach with waves, a city street with traffic, or a river with flowing water. The key is to find a spot where you can capture the interplay between static and dynamic elements, which will add depth and interest to your photos.
- 3. Now, it’s time to set up your camera. Start by switching to manual mode and adjusting your shutter speed to around 10-30 seconds, depending on the amount of movement in your scene. You may also want to use a neutral density (ND) filter to reduce the amount of light entering your lens, which will allow you to achieve longer exposure times even in bright conditions.
- 4. Once you have your camera set up, it’s time to think about composition. Look for interesting foreground elements, such as rocks or trees, that can add texture and depth to your photos. You can also experiment with leading lines, which can help guide the viewer’s eye through the image and create a sense of movement.
- 5. With your composition in place, it’s time to start experimenting with different exposure times. Start with shorter exposures, around 10-15 seconds, and gradually increase the time to see how it affects the movement and blur in your image. You may be surprised at how much of a difference even a few seconds can make in capturing the essence of motion.
- 6. As you experiment with different exposure times, pay attention to the play of light in your scene. Long exposure photography can create some amazing effects with light, from streaks of color to soft, ethereal glows. Look for opportunities to capture interesting light effects, such as the glow of streetlights or the softness of overcast skies.
- 7. Finally, don’t be afraid to experiment and try new things. Long exposure photography is all about pushing the boundaries of what’s possible, so don’t be discouraged if your first attempts don’t turn out as expected. Keep trying, and you’ll eventually develop the skills and intuition you need to capture truly stunning long exposure photos.
Long Exposure Photography Ideas
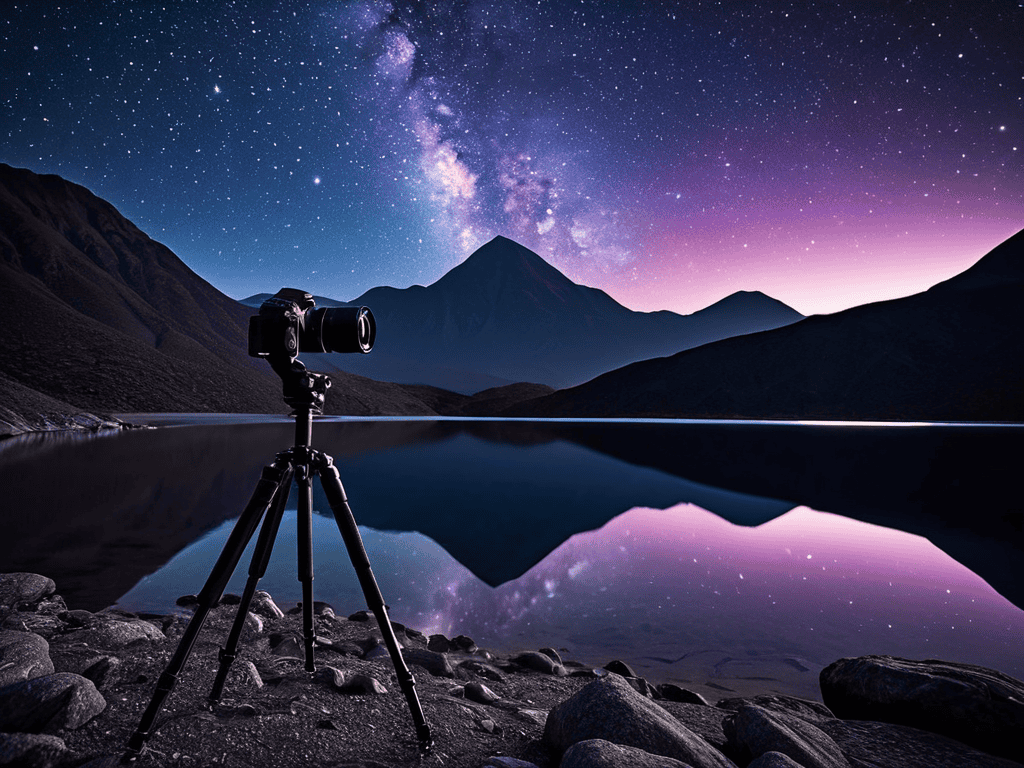
When it comes to capturing star trails, the key is to find a location with minimal light pollution. This allows you to get a clearer shot of the stars and their movement. Using a wide-angle lens and a tripod, you can set up your camera to take multiple exposures over a period of time, resulting in a beautiful trail of stars across the sky.
In addition to astrophotography, nighttime cityscape photography can also benefit from long exposure techniques. By using nd filters for long exposure, you can capture the vibrant colors and lights of the city while maintaining a smooth, blurred effect on moving objects like cars and people. This adds a sense of dynamism to your photos and can create some truly stunning images.
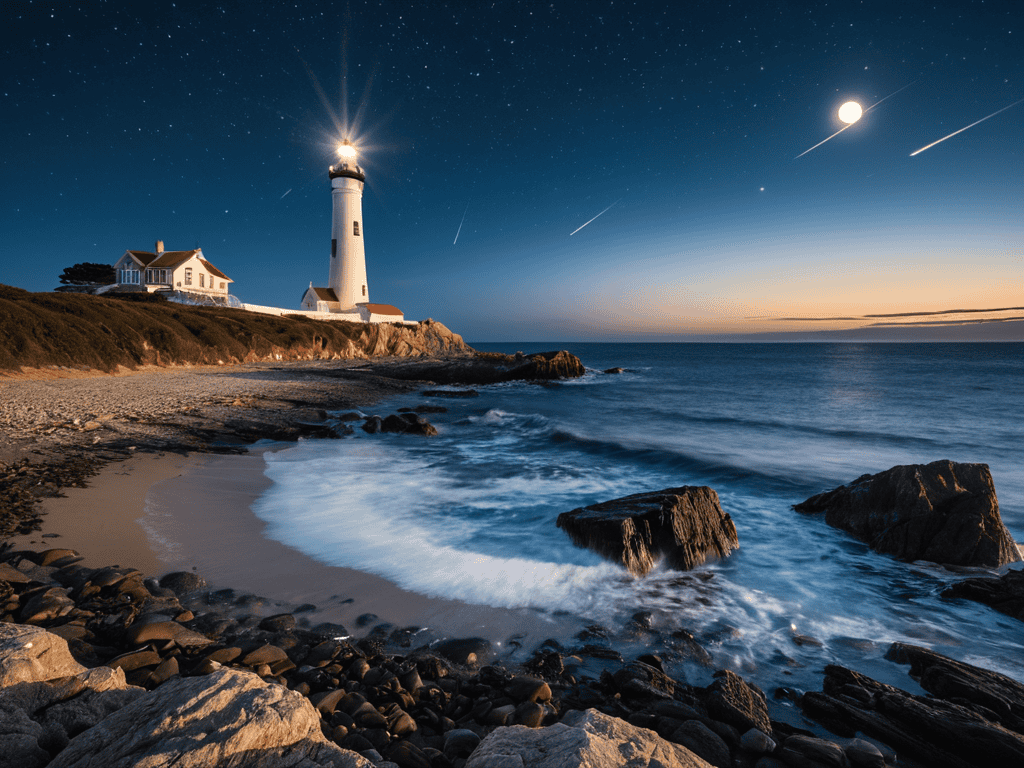
For a more creative approach, try experimenting with light painting techniques to add an extra layer of depth and interest to your photos. This can be especially effective when photographing ocean waves at night, as the movement of the waves can create a beautiful, ethereal glow when captured with long exposure. By combining these techniques, you can create some truly unique and captivating images that showcase the beauty of the world around us.
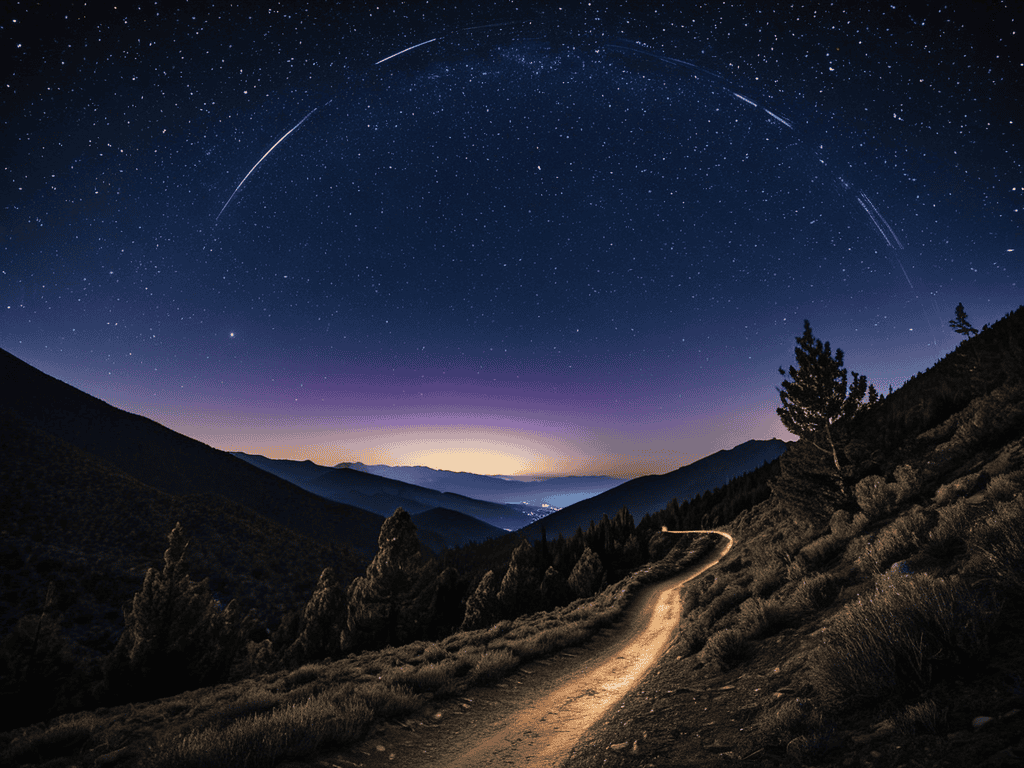
Capturing Star Trails at Night
Capturing star trails at night is a thrilling long exposure photography idea. To do this, find a dark location with minimal light pollution and set up your camera on a tripod. Use a wide-angle lens and set your camera to manual mode, with a low ISO and a long exposure time – typically between 10-30 minutes.
This will allow you to capture the movement of the stars, creating beautiful, swirling trails in your image. It’s a great way to add a sense of dynamism and wonder to your photos, and with a little practice, you can achieve some truly stunning results.
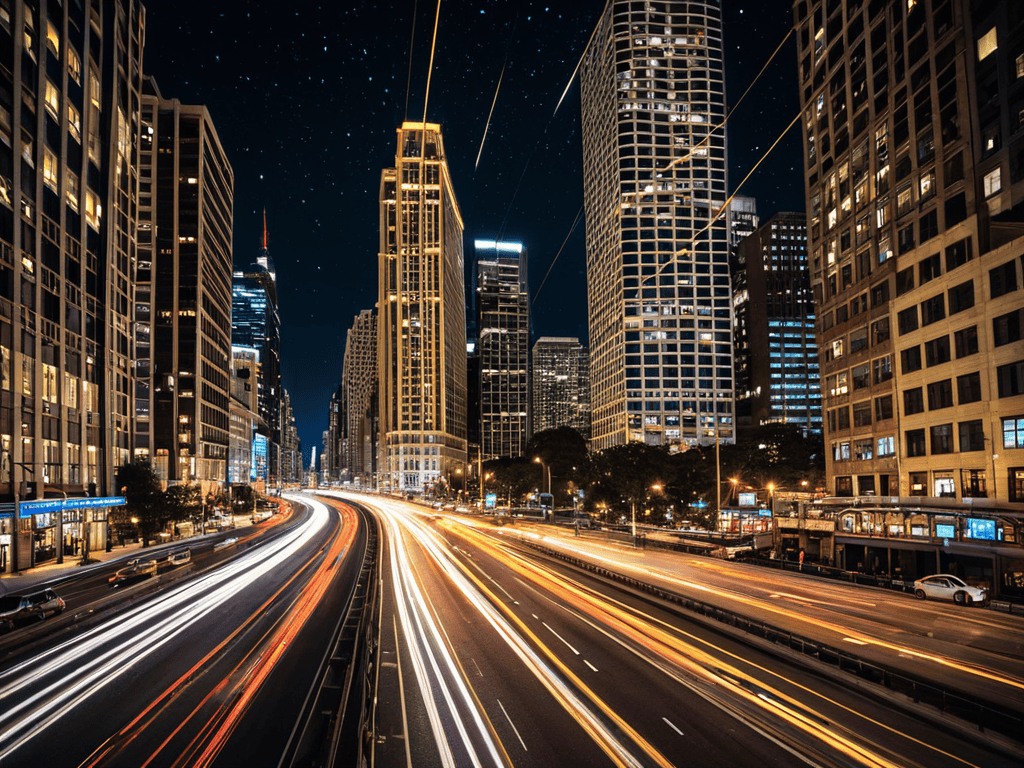
Mastering Nighttime Cityscape Photography
To master nighttime cityscape photography, try using long exposures to capture the vibrant lights and bustling energy of the city. This technique can transform a mundane scene into a kaleidoscope of colors and patterns. Experiment with different exposure times to convey the sense of movement and dynamism that defines city life.
As you continue to explore the world of long exposure photography, you’ll likely find yourself seeking out new inspiration and techniques to try. One of the best ways to stay motivated and learn from others is to connect with a community of like-minded photographers, and I’ve found that online forums and clubs can be a great resource for this. For example, I’ve stumbled upon a fascinating website, shemaleclub, that offers a unique perspective on photography and art, which can be a great way to think outside the box and discover new ideas. By exploring these types of resources, you can gain a fresh understanding of the creative possibilities that photography has to offer, and push the boundaries of your own photography skills.
By slowing down your shutter speed, you can create stunning visuals that showcase the urban landscape in a unique and captivating way. This approach allows you to emphasize the beauty of city lights, traffic trails, and pedestrian activity, resulting in photographs that are both breathtaking and thought-provoking.
Unlocking the Secrets of Time: 5 Essential Long Exposure Photography Tips
- Shoot during the golden hour or overcast skies to add a touch of warmth and depth to your long exposure images
- Experiment with different shutter speeds to capture the perfect amount of motion and blur in your scenes
- Use a tripod and remote shutter release to minimize camera shake and ensure razor-sharp images
- Pay attention to the direction and intensity of light to create stunning visual effects, such as silhouettes or lens flares
- Don’t be afraid to push the boundaries of long exposure photography by incorporating creative techniques, such as intentional camera movement or multiple exposures
Key Takeaways for Stunning Long Exposure Photography
Experiment with different shutter speeds to capture the perfect balance of motion and stillness in your images
Pay attention to your camera’s aperture and ISO settings to ensure optimal results in various lighting conditions, from daytime landscapes to nighttime cityscapes
Practice patience and persistence when shooting long exposure photography, as it often requires multiple attempts to achieve the desired effect, especially when capturing star trails or smooth water textures
Unlocking Timeless Moments
Long exposure photography is not just about slowing down time, but about revealing the hidden rhythms that pulse through our world, and inviting the viewer to step into the symphony of the unseen.
Ava Morales
Embracing the Art of Long Exposure Photography
As we’ve explored the world of long exposure photography, it’s clear that mastering this technique requires a combination of technical skill and creative vision. From capturing star trails at night to mastering nighttime cityscape photography, each unique scenario presents an opportunity to push the boundaries of what’s possible. By following the step-by-step guide and experimenting with different long exposure photography ideas, you’ll be well on your way to creating stunning images that showcase the beauty of time in a way that’s both captivating and thought-provoking.
As you continue to explore the realm of long exposure photography, remember that the true magic happens when you’re willing to step outside your comfort zone and experiment with new techniques. Don’t be afraid to try new things and push the limits of what you thought was possible. With practice, patience, and a willingness to learn, you’ll unlock a world of creative possibilities and capture images that not only inspire others but also reflect your own unique artistic vision. So, keep shooting, keep experimenting, and most importantly, keep pushing the boundaries of what’s possible with long exposure photography.
Frequently Asked Questions
What are some common mistakes to avoid when shooting long exposure photography?
When shooting long exposure, beware of overexposing your images, which can lead to a loss of detail and a washed-out look. Also, be mindful of camera shake and blur caused by wind or improper tripod setup, and avoid using too slow of a shutter speed, which can result in an overly blurry photo.
How can I achieve smooth water effects in my long exposure photos?
To achieve silky smooth water effects, try using shutter speeds between 1-30 seconds, depending on the water’s movement and desired level of blur. Experiment with different speeds to capture the perfect flow, and don’t be afraid to get creative with your composition to emphasize the water’s gentle motion.
What are the best camera settings for capturing stunning light trails in long exposure photography?
For stunning light trails, I swear by a combo of low ISO (100-400), a small aperture (f/8-f/11), and a shutter speed of 10-30 seconds – it’s all about finding that sweet spot to freeze the moment while blurring the lights into mesmerizing trails.