I still remember the first time I rigged a makeshift rain barrel behind my suburban house, the sound of the downpour drumming on the tin roof, the metallic clang of the hose as I coaxed water into a 55‑gallon drum. The idea was simple: rainwater harvesting for toilets—no fancy pumps, no pricey filtration units, just a gravity‑fed line that fed the flush tank while the sky wept. The moment the first drop of storm‑water hit the toilet tank and I heard that satisfying “whoosh,” I knew the hype was overblown and the real savings were just a pipe away.
If you’re sick of glossy brochures promising a turnkey green‑toilet system that costs more than a new fridge, stick around. I’m going to walk you through the exact parts I used, the rough‑and‑ready calculations that kept my water bill under $5 a month, and the three maintenance tricks that keep the system humming without turning your basement into a swamp. No jargon, no hidden fees—just the straight‑up, battle‑tested guide you need to turn your bathroom into a low‑cost, low‑impact hero. All while you still enjoy your morning coffee daily.
Table of Contents
- Rainwater Harvesting for Toilets the Secret to Green Flushing
- How Toilet Flushing With Rainwater Systems Cuts Your Bill
- Sizing the Collection Tank for Reliable Bathroom Use
- Dual Plumbing Rainwater Toilet Integration Made Simple
- Designing Sustainable Bathroom Water Solutions With Dual Plumb
- Navigating Rainwater Reuse Regulations for Residential Toilets
- 5 Quick Wins to Turn Your Toilet Green
- Quick Wins for a Greener, Cheaper Flush
- Flush Green, Save Green
- Wrapping It All Up
- Frequently Asked Questions
Rainwater Harvesting for Toilets the Secret to Green Flushing

Imagine a bathroom that “talks” to the sky. When a storm rolls in, the down‑spout diverts a portion of that fresh precipitation straight into a purpose‑built reservoir, ready to power your next flush. The trick isn’t just dumping water into a tank; it’s getting the right tank size so that you never run short during a dry spell. Proper rainwater collection tank sizing for toilets hinges on your family’s daily flush count, roof area, and local rainfall patterns – a quick spreadsheet can save you weeks of guesswork. Once the numbers line up, you’ll be set for reliable toilet flushing with rainwater systems that stay within rainwater reuse regulations for residential toilets, keeping both the plumber and the city inspector smiling.
Beyond the eco‑appeal, the dollars start adding up fast. A typical three‑person household can shave $30‑$50 off its water bill each year simply by swapping municipal supply for harvested rain. That’s the kind of cost savings using rainwater for toilet flush you’ll actually notice on your monthly statement. The secret sauce is dual plumbing rainwater toilet integration: a separate line feeds the tank while the regular line stays on standby for peak demand, ensuring you never compromise performance. Pair this with other sustainable bathroom water solutions—like low‑flow fixtures and leak‑detecting sensors—and you’ll turn a humble powder room into a miniature water‑conservation powerhouse.
How Toilet Flushing With Rainwater Systems Cuts Your Bill
Imagine watching your monthly water bill shrink as you swap tap water for rain‑collected flushes. A modest 1,200‑liter tank can handle the average family’s toilet needs, shaving off up to 40 % of your consumption. Because the system feeds the flush valve directly, you’re never diluting the water with expensive mains supply. In practice, many homeowners report cutting your water bill in half within the first year. That translates to a few extra dollars each month for groceries or a weekend getaway.
Beyond the immediate savings, the system pays for itself faster than you’d expect. Installation costs are typically recouped in just three to five years, thanks to lower sewage fees and reduced demand charges. By the time the tank’s warranty expires, you’ve already turned a modest green upgrade into a permanent line‑item profit for your household budget and the planet alike today.
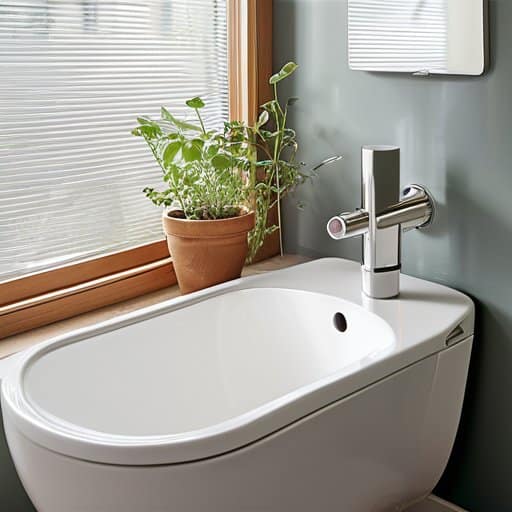
Sizing the Collection Tank for Reliable Bathroom Use
First, figure out how many flushes your household typically generates each day. A modern toilet uses about 1.3 gallons (5 L) per flush, so a family of four that flushes three times a day needs roughly 15 gallons (57 L) of water. Multiply that by a few days of buffer—most people aim for a 2‑day reserve—to avoid running dry during a dry spell. Size your tank for daily flush volume plus that safety cushion.
Then factor in your local rainfall. In a rainy climate a 300‑gallon (1,140 L) tank might be enough, but in a drier zone you’ll want at least 600 gallons to bridge the gaps between storms. A simple way to calculate it is: (daily flush volume) × (average days without rain) × 1.1. The product gives you the rainfall capture factor, the size you should target so the toilet never runs out of water.
Dual Plumbing Rainwater Toilet Integration Made Simple
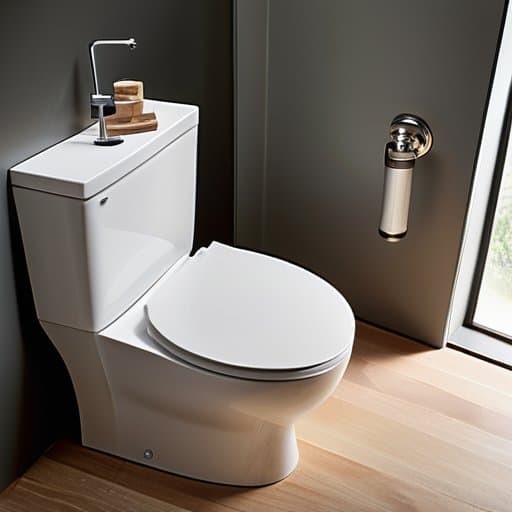
The trick to a hassle‑free dual plumbing setup is to treat the rain‑derived line as a second, low‑pressure feed for the toilet’s flush valve. Start by picking a storage tank that matches your household’s flush frequency—most guides suggest a rainwater collection tank sizing for toilets of 200‑300 L for a typical four‑person home. Once the tank is installed, add a pressure‑reducing valve and a check valve to keep the two water sources separate. Finally, verify local rainwater reuse regulations for residential toilets; many cities require a simple back‑flow preventer and a labeled “rainwater” tap.
After the plumbing is sealed, the fun begins: watching the meter spin slower while the flush handle still works like magic. Because the rain‑water line is separate, you can program a toilet flushing with rainwater systems controller to automatically switch to the harvested supply when municipal pressure drops below a set point. In most cases, homeowners report cost savings using rainwater for toilet flush that offset the upfront expense within two years. This approach slashes your water bill and turns your bathroom into a showcase of sustainable bathroom water solutions that friends will rave about.
Designing Sustainable Bathroom Water Solutions With Dual Plumb
If you’ve already sized your tank and mapped out the dual‑plumb loops, the next step is finding a community of DIY enthusiasts who can troubleshoot the quirks that only show up once the system is actually flushing, and there’s a surprisingly active forum where homeowners share their rain‑to‑toilet setups, swap tips on back‑flow preventers, and even organize local meet‑ups—check out the upcoming sextreffen for a chance to connect with like‑minded eco‑savvy neighbors and keep your green flushing momentum rolling.
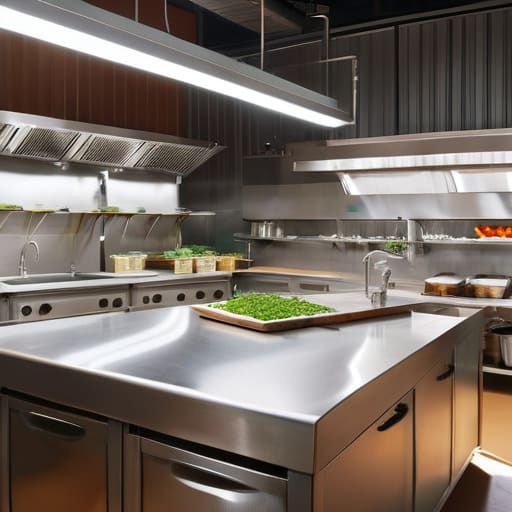
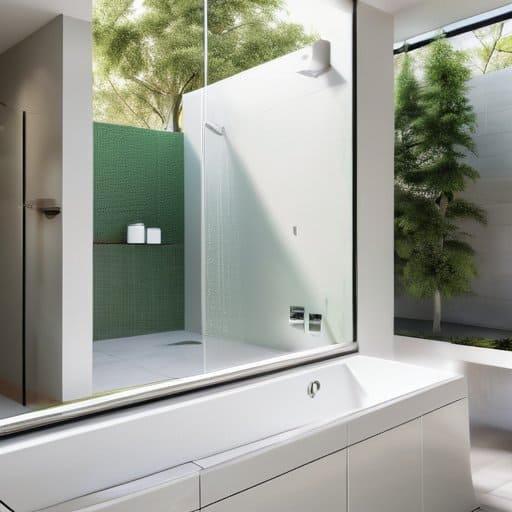
When you start planning a dual‑plumb bathroom, think of the system as two separate circulations sharing a single space. The cold‑water line feeds your sink, shower, and bathtub, while a dedicated line delivers rain‑collected water straight to the toilet. Keeping these loops apart avoids cross‑contamination and stays on the right side of local codes. Place the rain‑tank just a few feet from the bathroom so the gravity‑fed hose can reach the flush valve without a pump.
Once the plumbing is mapped out, add a simple check valve and a backflow preventer to keep rainwater from traveling upstream. A small pressure regulator ensures the toilet receives a steady flow, while a float‑switched shut‑off valve protects the tank during droughts. With these safeguards in place, you can claim a green flushing solution that cuts your water bill and carbon footprint.
Navigating Rainwater Reuse Regulations for Residential Toilets
Before you even think about hooking a barrel to your bathroom, the first thing to do is check your city’s building code. Most municipalities treat rainwater as a non‑potable resource, which means you’ll need a simple rainwater reuse permit and a back‑flow preventer to keep the supply separate from your drinking water. A quick call to the local planning office can save you weeks of paperwork later.
If your neighborhood has a homeowner’s association or a strict health department, they may demand a certified dual‑plumb certification before approving the hookup. This usually involves a short inspection of the tank, the filtration screen, and the check valve that stops any cross‑contamination. Keep a copy of the inspection report handy—future buyers love seeing that the green upgrade was done by the book. Also log the installation date for resale value and tax credits.
5 Quick Wins to Turn Your Toilet Green
- Capture roof runoff with a modest rain barrel and a cheap diverter kit—no plumbing overhaul needed.
- Install a backflow prevention valve so rainwater never mingles with your drinking supply.
- Calculate tank size by multiplying daily flushes (≈1 gal per flush) by days of rain you expect, then add a safety margin.
- Run a dedicated “gray‑water” line from the tank straight to the toilet to keep the system simple and code‑friendly.
- Cover the tank, add a fine mesh screen, and schedule a quick rinse every few weeks to keep algae and debris out.
Quick Wins for a Greener, Cheaper Flush
Capture rainwater from your roof and store it in a modestly sized tank—enough to handle daily toilet flushes without compromising hot‑water needs.
Install a simple dual‑plumb valve so your toilet automatically draws from the rain‑water line, slashing your water bill by up to 30 % with virtually no extra effort.
Check local codes early; most municipalities allow non‑potable reuse for toilets, but a quick permit check saves headaches down the road.
Flush Green, Save Green
“When rain becomes the water that clears the bowl, every drop saves a penny and a planet.”
Writer
Wrapping It All Up
We’ve seen how a simple rain‑catching system can turn your toilet into a green flushing champion, slashing water bills and easing the strain on municipal supplies. By sizing the collection tank correctly, you guarantee enough supply for daily flushes without compromising a rain‑driven garden or a leaky faucet. The dual‑plumbing approach lets you keep potable water pristine while routing reclaimed rainwater straight to the bowl, and the regulatory checklist ensures you stay on the right side of local codes. In short, the right design, a bit of plumbing know‑how, and a splash of environmental conscience give you a bathroom that pays for itself, adding value to your home.
Imagine a future where every bathroom in your neighborhood whispers, “I’m saving the planet, one flush at a time.” That vision starts with a single tank, a few elbows, and the decision to treat rain as a resource rather than a nuisance. When you install a rain‑water toilet system, you’re not just cutting a monthly line item—you’re joining a growing community of homeowners who see water as a shared treasure. Let that thought motivate you to pull the lever, raise the rain barrel, and let each drop you save be a small, satisfying rebellion against waste. Your bathroom can be a sustainability showcase, inspiring neighbors too. So take the step, and let the rain do the work for you.
Frequently Asked Questions
How do I connect a rainwater tank to my existing toilet plumbing without hiring a plumber?
First, turn off the main water supply and drain the toilet line so you’re not spraying yourself. Mount a small, food‑grade tank (30‑50 gal works for most single‑family homes) on a sturdy platform near the bathroom, then run a ½‑in. PVC pipe from the tank’s outlet to the toilet’s supply line. Slip a dual‑check backflow preventer in line (it’s cheap and keeps any rainwater from contaminating the mains). Install a ball‑valve or float‑switch so the tank feeds the toilet only when it’s full, then reconnect the supply, turn the main valve back on, and flush a few times to bleed air. Double‑check local codes—some jurisdictions require a separate “non‑potable” line or a simple sign on the tank—but that’s all you need for a DIY green‑flush setup.
What size rainwater storage tank do I need to comfortably cover my household’s toilet flushing needs year‑round?
A good rule of thumb is to size your tank for about 1 gallon (≈3.8 L) of rainwater per flush × average daily flushes. Most families use 3‑5 flushes per person per day, so for a four‑person house you’d need roughly 12‑20 gallons (45‑75 L) a day. Multiply that by the driest 30‑day stretch in your area (check local rainfall stats) and you’ll land at a 350‑600‑gallon (1,300‑2,300 L) tank. A 500‑gallon (≈1,900 L) tank is a comfortable, “set‑and‑forget” size for most U.S. climates.
Are there any local building codes or health regulations I need to watch out for when using rainwater for toilet flushing?
First, check your city or county’s plumbing code—most places treat rainwater as a non‑potable source, so you’ll need a separate “gray‑water” loop that never mixes with drinking water. Look for requirements on back‑flow preventers, labeling, and a minimum tank size (often 5 gal per person). Some jurisdictions demand a permit and a quick inspection before you hook up the tank. A brief call to your local building department will confirm the exact steps.