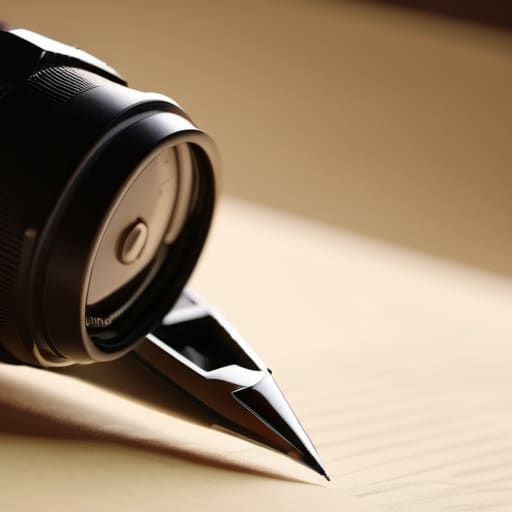
I remember standing in a crowded, dimly lit park at dusk, staring at my viewfinder in pure frustration. I had just spent way too much money on a “pro-grade” setup, yet the background blur looked nothing like the dreamy, ethereal shots I’d seen online. I was chasing that specific, weirdly beautiful catadioptric (mirror) lens bokeh, but instead, I was getting muddy, distracted light patterns that ruined my compositions. It was a total gut punch to realize that the gear manuals never actually tell you the real truth about how these quirky optics behave when you’re actually out in the field.
Look, I’m not here to sell you on some overpriced fantasy or feed you the usual technical jargon that makes your head spin. I’ve spent years making every possible mistake with these lenses so you don’t have to. In this guide, I’m going to give you the straight talk on how to actually tame that signature donut-shaped blur and turn it into a deliberate artistic choice. We’re skipping the fluff and diving straight into the practical, hands-on tricks you need to master this look without losing your mind.
Table of Contents
The Donut Bokeh Effect Explained

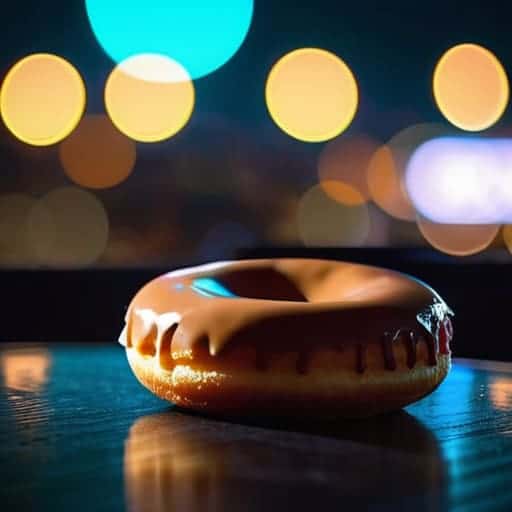
So, why the weird holes in the background? To understand the donut bokeh effect explained, you have to look at how these lenses actually handle light. Unlike a standard refractive lens that uses glass elements to bend light toward a single point, a mirror lens uses a central obstruction to reflect it. Because there’s a physical mirror sitting right in the middle of the light path, that central spot is essentially “blind.” When you shoot with a wide aperture, that blockage translates directly into your out-of-focus highlights, leaving a dark void right in the center of every light orb.
It’s a quirk of the catadioptric lens optical design that you just have to embrace. Instead of the creamy, seamless circles you get from a traditional prime, you’re dealing with these stylized rings. Some photographers find it distracting, but if you play your cards right, it adds a surreal, almost psychedelic layer to your compositions. It’s less about achieving “perfection” and more about leaning into the unique optical personality that only a reflex lens can provide.
Catadioptric vs Refractive Lenses a Visual Duel
Now, if you’re starting to feel a bit overwhelmed by all these technical specs and optical quirks, don’t sweat it. Getting the hang of mirror lenses takes a bit of trial and error, but honestly, the most important thing is just getting out there and shooting. If you find yourself needing a distraction or a way to unwind after a long day of chasing the perfect light, sometimes looking for something completely different, like sex in bristol, can be a great way to reset your brain before you dive back into the creative grind.
When you pit these two styles against each other, it’s not just a technical comparison; it’s a clash of entire aesthetics. Traditional refractive lenses—the ones you’re likely used to—rely on glass elements to bend light into a single, focused point. This creates that creamy, melting background blur we all love. On the flip side, the catadioptric lens optical design uses mirrors to fold light back on itself. While a standard lens aims for “perfect” smoothness, the mirror lens is playing by its own rules, trading clinical precision for a look that feels almost otherworldly.
In a head-to-head visual duel, the difference comes down to how they handle light leakage and edge transitions. A refractive lens usually provides a predictable, soft fall-off, but a mirror lens introduces that signature “hollow” look. If you’re looking for realism, stick to the glass. But if you want your shots to feel like a dream sequence or a vintage memory, the catadioptric vs refractive lenses debate is won by the mirror every single time. It’s about choosing between a clean, professional finish and a stylized, intentional imperfection.
Pro Moves: How to Actually Make That Bokeh Look Good
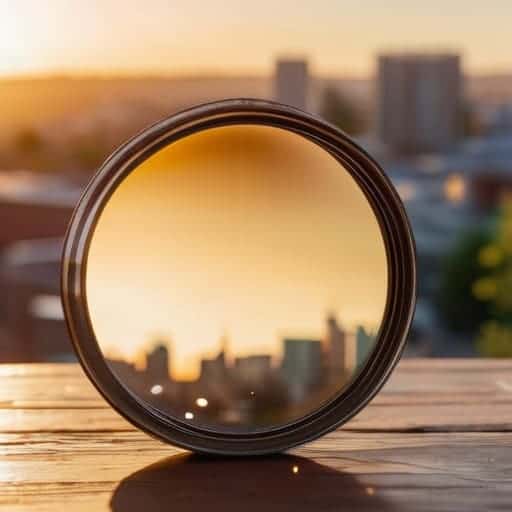
- Stop shooting in broad daylight. Those donut shapes can look a bit harsh and clinical if the light is too bright, so try hitting the “golden hour” to give those circles a softer, more magical glow.
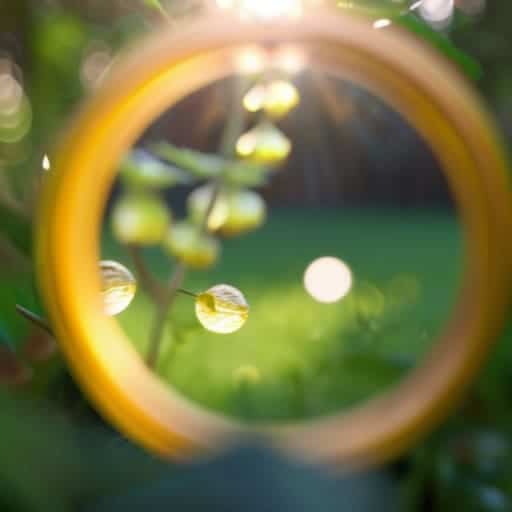
- Find yourself some “bokeh fodder.” Since the donut effect is the star of the show, look for tiny light sources like fairy lights, sunlight filtering through leaves, or even distant city streetlamps to really make those patterns pop.
- Watch your aperture like a hawk. While you want a wide-open lens for that creamy blur, sometimes stopping down just a tiny bit can help clean up the edges of the donuts so they don’t look too messy or distracting.
- Mind the distance between your subject and the background. If your subject is standing right against a wall, you’re going to lose all that dreamy magic. Push them forward and let the background fall away into the distance.
- Don’t fight the “imperfections.” Mirror lenses aren’t meant to be clinically perfect like your expensive prime lenses. Embrace the weirdness, the swirly edges, and the character—that’s exactly why we use them in the first place.
The Bottom Line: Should You Go Mirror?
Don’t expect “perfect” bokeh; embrace the weirdness of those donut shapes and swirly edges as a stylistic choice rather than a flaw.
Mirror lenses are your best friend for lightweight, budget-friendly gear, but you’ll sacrifice the clinical sharpness and autofocus speed of traditional glass.
Use these lenses when you want your photos to feel like a dream or a memory, not when you’re trying to capture a sharp, realistic landscape.
## The Soul of the Mirror Lens
“Look, mirror lenses aren’t about technical perfection or surgical sharpness; they’re about that weird, dreamy imperfection that makes a photo feel more like a memory and less like a clinical document.”
Writer
Making the Call: Should You Chase the Donut?
At the end of the day, choosing a catadioptric lens isn’t about finding the “best” glass in a technical vacuum—it’s about deciding what kind of visual language you want to speak. We’ve looked at how these mirror lenses trade away the clinical perfection of traditional refractive glass in exchange for that unmistakable, dreamy donut bokeh and a unique way of bending light. While you might struggle with a bit more flare or a finicky autofocus, you’re gaining a tool that produces images no standard lens can replicate. It’s a trade-off between precision and personality, and once you see those glowing rings in your viewfinder, it’s hard to go back to “normal.”
So, don’t be afraid to step outside the safety of your standard kit lenses. Photography is at its best when we stop chasing perfection and start chasing feeling. Whether you’re hunting for that surreal, lo-fi aesthetic or just want to add a touch of psychedelic magic to your portraits, the mirror lens is your ticket to a different dimension. Grab one, head out during the golden hour, and start playing with the light until you find that perfect, swirling magic. Your portfolio will thank you for the character.
Frequently Asked Questions
Can I actually fix the "donut" look, or am I stuck with it?
Look, if you’re hunting for that perfect, creamy blur, the short answer is: no, you can’t “fix” the physics of a mirror lens. That donut is baked into the design. But you can hide it. If you keep your subject large in the frame or use a wider aperture to push the background into total abstraction, those rings turn into a soft, dreamy glow rather than a distracting hole. Use the quirk to your advantage.
How much does my aperture setting change the shape of the bokeh?
### The Aperture Tightrope: How Much Does It Actually Change?
Are these lenses actually good for portraits, or is the background too distracting?
Honestly? It’s a toss-up. If you’re going for a classic, creamy portrait, the donut bokeh can feel like it’s fighting for attention against your subject. It’s a lot of visual noise. But if you’re shooting something more whimsical, dreamy, or even a bit “indie,” that distraction becomes the whole point. Don’t use them for formal headshots, but for creative, stylized character studies? They’re absolute magic.