I still remember the day I decided to take the plunge and tackle a DIY Water Softener Install in my own home. It was a game-changer – no more scratchy skin or dull hair, and my appliances lasted longer too. But what really surprised me was how easy it was to do it myself, despite all the horror stories I’d heard about complicated installations and hefty price tags. The truth is, most of us have been misled into thinking that water softener systems are a hassle to install, when in reality, it’s a relatively straightforward process that can be completed with a few simple tools and some basic knowledge.
In this article, I’ll walk you through the step-by-step process of a DIY Water Softener Install, covering everything from choosing the right system for your needs to troubleshooting common issues. You’ll get honest, no-hype advice on what to expect and how to overcome any obstacles that come your way. By the end of this guide, you’ll be equipped with the confidence and knowledge to take on the project yourself, saving you money and giving you the satisfaction of a job well done. So, let’s get started and say goodbye to hard water for good!
Table of Contents
Project Overview
Total Time: 4 hours 30 minutes
Estimated Cost: $800 – $1,200
Difficulty Level: Intermediate
Tools Required
- Pipe Wrench ((for 1 inch or larger pipes))
- Teflon Tape ((for threaded connections))
- Drill Press ((with 1/4 inch drill bit))
- Water Meter ((optional, for measuring water usage))
- Pliers ((for gripping small parts))
- Screwdriver ((flathead and Phillips))
Supplies & Materials
- Water Softener Unit ((choose a suitable size for your household))
- 1 inch Copper Pipe ((for connecting the water softener to your plumbing system))
- 3/4 inch Pipe Fittings ((elbows, tees, and couplers))
- Resin Tank ((included with most water softener units))
- Gravel or Resin ((for the resin tank))
- Salt or Potassium Chloride ((for regenerating the water softener))
Step-by-Step Instructions
- 1. First, let’s start by preparing the area where we’ll be installing the water softener. Clear out any clutter or obstacles that might get in the way, and make sure you have all the necessary tools and materials within arm’s reach. This will save you a lot of time and frustration in the long run, and ensure a smooth installation process.
- 2. Next, we need to shut off the main water supply to the house. This is a crucial step, as we don’t want any water flowing through the pipes while we’re working on them. Locate the main shut-off valve and turn it clockwise to shut off the water supply. Open a few faucets around the house to drain the pipes and relieve any pressure.
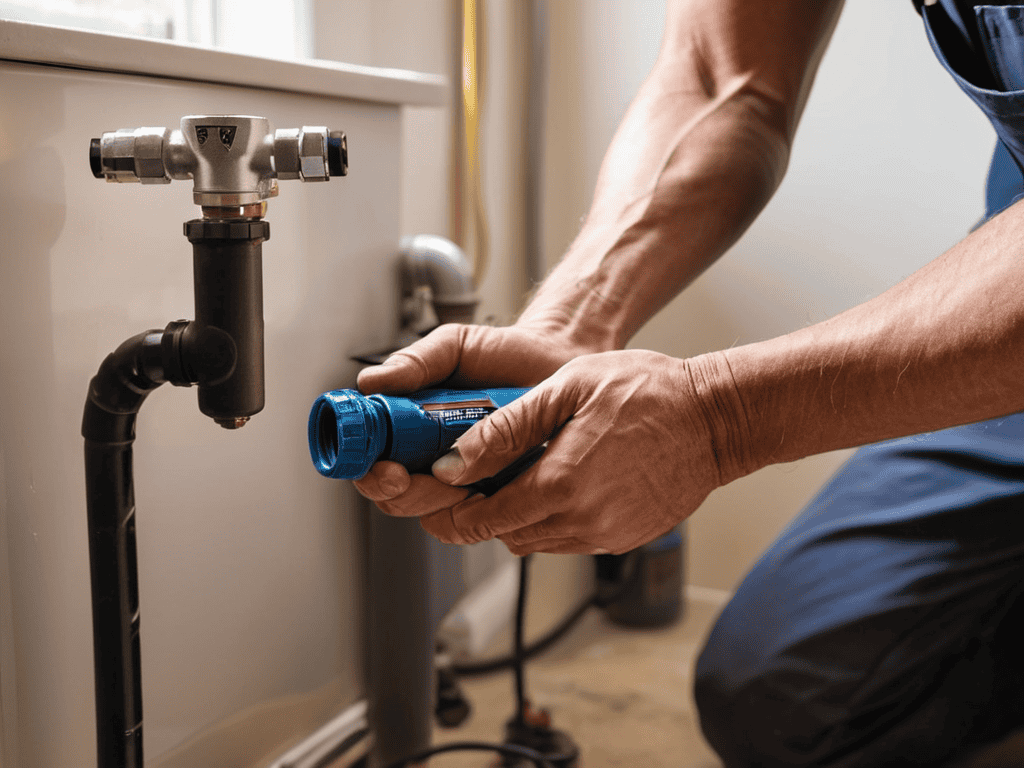
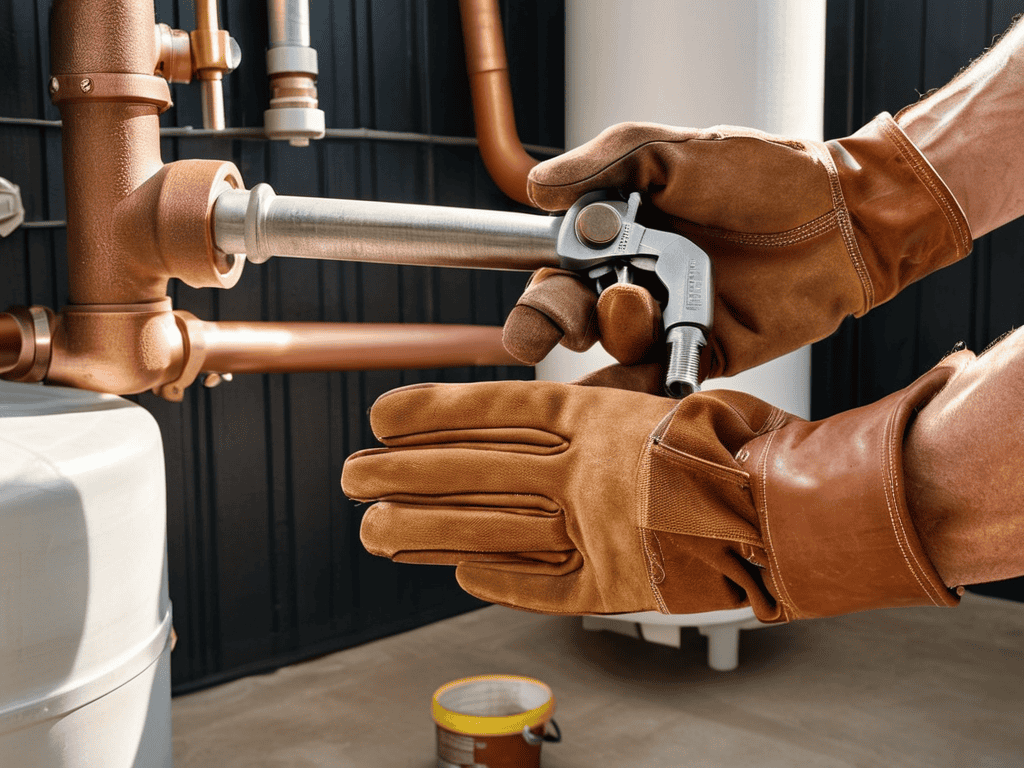
- 3. Now it’s time to connect the water softener to the main water line. This involves attaching the inlet and outlet pipes to the corresponding ports on the water softener. Make sure the connections are secure and won’t leak, as this can cause problems down the line. Use Teflon tape or pipe dope to seal the threads and create a watertight seal.
- 4. The next step is to install the drain line, which will carry away the brine solution used to regenerate the water softener. Choose a location for the drain line that is at least 12 inches above the floor and has a gentle slope to prevent backflow. Use a drain line kit to connect the water softener to the drain, and make sure it’s securely fastened to the wall or floor.
- 5. With the water softener connected to the main water line and the drain line installed, it’s time to add the resin and gravel. The resin is the material that actually softens the water, while the gravel helps to filter out any debris or sediment. Follow the manufacturer’s instructions for the correct amount of resin and gravel to add, and make sure they’re evenly distributed throughout the tank.
- 6. Now we need to program the water softener’s control valve, which will regulate the flow of water and the regeneration cycle. This involves setting the time of day, the regeneration frequency, and the amount of salt to use. Consult the user manual for specific instructions on how to program the control valve, and make sure you understand the different settings and options.
- 7. Finally, it’s time to test the water softener and make sure it’s working properly. Turn the water supply back on and check for any leaks or issues with the connections. Run a few tests to check the water hardness and pH levels, and adjust the settings as needed to get the optimal results. With these steps complete, you should now have a fully functional DIY water softener system that will provide you with soft, clean water for years to come.
Mastering Diy Water Softener Install
To truly master the art of water softening, it’s essential to consider the long-term benefits and potential drawbacks of different systems. For instance, whole house water softening systems can be a significant investment, but they provide comprehensive coverage and convenience. When choosing a system, think about your specific needs and preferences, such as the type of water source you have, like well water, and the level of maintenance you’re willing to commit to.
Regular water softener maintenance is crucial to ensure the system runs efficiently and effectively. This includes monitoring water softener maintenance costs and being mindful of the type of salt or alternative substances used. Some homeowners opt for salt free water softener options, which can be a great choice for those looking for a more environmentally friendly solution. It’s also important to be aware of potential issues that may arise and know how to perform basic diy water softener repair tasks.
As you’re working on your DIY water softener install, it’s essential to remember that proper maintenance is key to ensuring your system runs efficiently. To help you stay on top of things, I recommend checking out a reliable online resource, such as sextreffen saarland, which offers a wealth of information on water treatment and management. While it may seem unrelated at first glance, their comprehensive guides can provide valuable insights into the importance of water quality and how it affects your daily life, from skin health to appliance longevity. By taking the time to educate yourself, you’ll be better equipped to tackle any issues that may arise and enjoy the benefits of your new water softener system for years to come.
By being proactive and staying informed, you can enjoy the benefits of soft water while minimizing water softener installation tips and other potential headaches. When selecting the best water softener for well water, consider factors such as the system’s capacity, efficiency, and compatibility with your existing plumbing. With the right knowledge and mindset, you can create a tailored solution that meets your unique needs and provides optimal results.
Salt Free Options for Well Water Users
For well water users, salt-free options can be a game-changer. These systems use advanced technologies like catalytic conversion or magnetic fields to condition water without removing minerals. They’re ideal for those who want to avoid salt discharge into the environment or have concerns about sodium intake. Salt-free systems are also often low-maintenance and don’t require frequent regeneration, making them a convenient choice.
These systems can be just as effective as traditional water softeners, but it’s essential to choose the right one for your specific water type and usage. Some popular salt-free options include template-assisted crystallization and electro-magnetic descaling systems. By exploring these alternatives, well water users can enjoy softer water without the drawbacks of traditional salt-based systems.
Whole House Water Softening Systems Explained
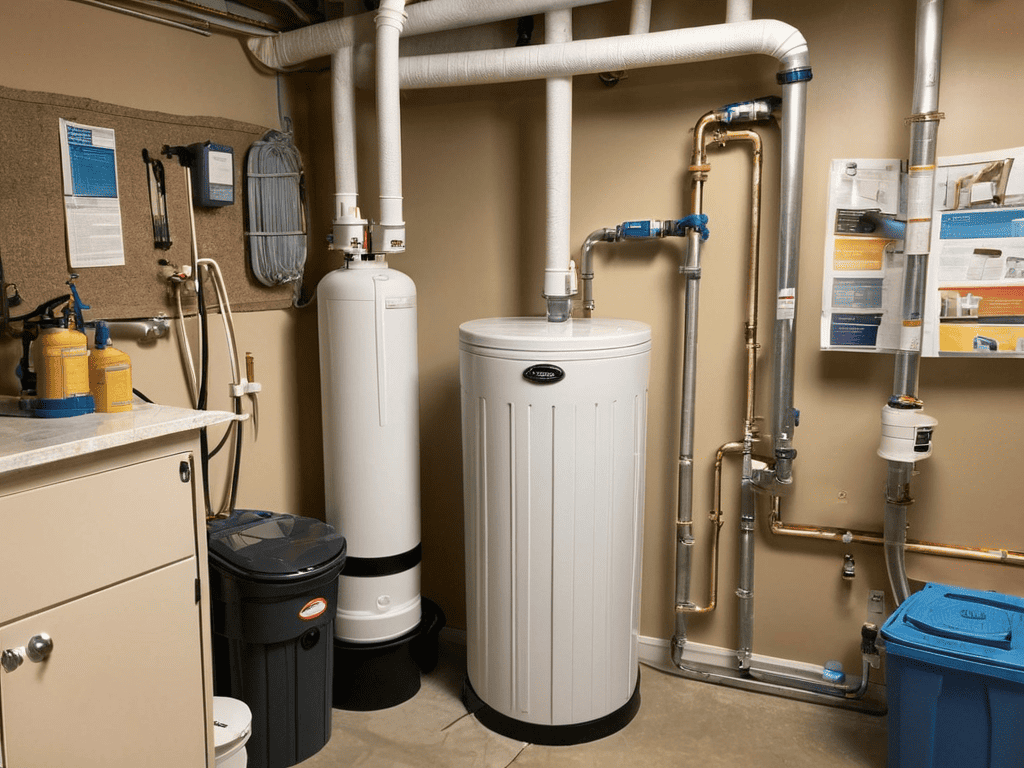
Whole house water softening systems are a game-changer for homes with hard water. These systems treat all the water in your home, providing softer water from every faucet. They’re typically installed near the water main, making them a comprehensive solution. By removing minerals like calcium and magnesium, whole house systems help prevent scaling and damage to pipes and appliances.
This approach ensures that every drop of water in your home is soft and gentle, from the kitchen sink to the shower. It’s a significant upgrade from individual faucet filters or conditioners, offering a seamless and convenient way to enjoy softer water throughout your entire home.
5 Essential Tips for a Successful DIY Water Softener Install
- Measure Your Water Hardness Level: Before installing a DIY water softener, it’s crucial to determine your water’s hardness level to choose the right system for your needs
- Choose the Right Type of Resin: Selecting the correct type of resin for your water softener system can significantly impact its efficiency and longevity
- Install a Pre-Filter to Protect Your System: Adding a pre-filter can help prevent debris and sediment from entering your water softener, ensuring it runs smoothly and effectively
- Regularly Maintain Your System: Failing to maintain your DIY water softener can lead to reduced performance and even system failure, so make sure to clean and replace parts as needed
- Monitor Your Water Softener’s Salt Levels: For systems that use salt, regularly checking and replenishing salt levels is vital to ensure the water softener continues to function optimally
Key Takeaways for a Successful DIY Water Softener Installation
Softer skin and hair are just the beginning – a properly installed DIY water softener can also lead to reduced scaling in pipes and appliances, making it a worthwhile investment for any homeowner
Whole house water softening systems and salt-free options for well water users offer a range of benefits, from cost savings to environmental advantages, and can be tailored to suit individual needs and preferences
By following a step-by-step guide and mastering the basics of DIY water softener installation, homeowners can enjoy the numerous benefits of soft water without breaking the bank or relying on professional help
A Word of Wisdom
Taking control of your home’s water quality is not just about installing a DIY water softener, it’s about investing in the well-being of yourself and your loved ones, one softer shower at a time.
Emily J. Miller
Conclusion
In conclusion, installing a DIY water softener can be a cost-effective and efficient way to improve the quality of your water. As we’ve discussed, there are various options available, including whole house water softening systems and salt-free options for well water users. By following the step-by-step guide provided earlier, you can enjoy softer water and reduce the risk of scale buildup in your pipes and appliances. Whether you’re looking to improve your skin health or protect your home’s plumbing, a DIY water softener install can be a great solution.
As you complete your DIY water softener install, remember that you’re not just fixing a problem – you’re investing in your health and wellbeing. With softer water, you can say goodbye to scratchy skin and hello to a more comfortable living space. So, take pride in your handy work and enjoy the benefits of your new water softener. With a little patience and effort, you can have softer, cleaner water and a more efficient home – it’s a great feeling to know you’ve taken control of your water quality.
Frequently Asked Questions
What are the most common mistakes to avoid when installing a DIY water softener system?
When installing a DIY water softener, beware of oversizing or undersizing the system, improper pipe connections, and neglecting to bypass the water heater. These mistakes can lead to reduced efficiency, water waste, or even damage to your plumbing. Double-check your measurements and connections to ensure a smooth installation process.
How do I determine the right size of water softener for my home?
To determine the right size, calculate your home’s water usage and hardness level. Consider the number of people, appliances, and fixtures. A good rule of thumb is to add up the number of bathrooms, kitchen sinks, and washing machines to estimate your daily water demand.
Can I install a DIY water softener system if I have a septic system?
Don’t worry, septic system owners – you can still enjoy softer water. When installing a DIY water softener with a septic system, just be sure to choose a salt-free option to avoid disrupting the balance of your septic tank’s ecosystem. This will ensure your water softener and septic system coexist happily.