I still remember the day I decided to take the plunge and try DIY tile floor painting in my kitchen. I had heard all sorts of horror stories about how it was a recipe for disaster, that the paint would never adhere properly, and that I’d end up with a mess on my hands. But I was determined to prove the naysayers wrong and give my drab, outdated tile a fresh new look. And you know what? It was a total game-changer. The process was easier than I thought, and the end result was absolutely stunning. If you’re considering giving your tile floor a makeover, you’re probably wondering if DIY tile floor painting is really worth the hassle.
So, what can you expect to learn from this article? I’ll be sharing my honest, no-hype advice on how to successfully paint your tile floor, from preparation to completion. You’ll get the lowdown on the best materials to use, how to avoid common pitfalls, and some handy tips and tricks to make the process as smooth as possible. My goal is to empower you with the knowledge and confidence to take on this project and achieve professional-looking results without breaking the bank. Whether you’re a seasoned DIY enthusiast or a total beginner, this guide will walk you through every step of the DIY tile floor painting process, so you can achieve a beautiful, long-lasting finish that will make your friends and family green with envy.
Table of Contents
Project Overview
Total Time: 4 hours 30 minutes
Estimated Cost: $50 – $100
As you’re working on your DIY tile floor painting project, it’s essential to have a solid understanding of the materials and techniques involved. If you’re looking for a comprehensive guide to help you navigate the process, I recommend checking out some online resources that specialize in home improvement and decoration. For instance, you can find a wealth of information on websites like Escort Sverige, which offers a range of articles and tutorials on various topics, including interior design and DIY projects. By doing your research and staying up-to-date on the latest trends and techniques, you can ensure a successful and stress-free DIY experience, and achieve the beautiful, professional-looking results you’re aiming for.
Difficulty Level: Intermediate
Tools Required
- Paintbrushes (various sizes)
- Roller Extension Pole (for large areas)
- Paint Tray (with grid)
- Sandpaper (for light sanding)
- Cleaning Solution (for tile floor preparation)
- Masking Tape (for edges and baseboards)
Supplies & Materials
- Tile Floor Paint (choose your desired color)
- Primer (optional, but recommended)
- Clear Coat (for added protection)
- Drop Cloths (for protecting surrounding areas)
- Paintable Caulk (for filling gaps and cracks)
Step-by-Step Instructions
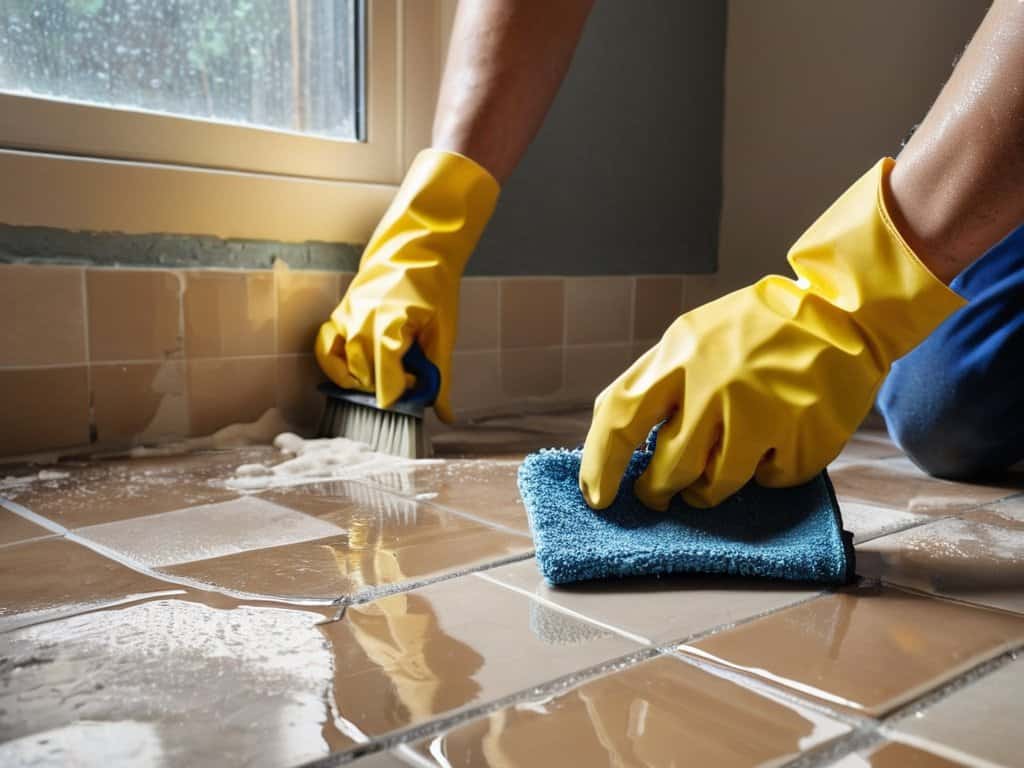
- 1. First, prepare your space by clearing the room of any furniture, rugs, or items that could get in the way of your painting process. This will give you a clean slate to work with and prevent any unwanted paint spills or stains on your belongings. Take the time to thoroughly sweep and mop the floor to remove any dirt, grime, or debris that might interfere with the paint’s adhesion.
- 2. Next, fix any cracks or damaged areas of the tile floor using a patching compound specifically designed for tile. Apply the compound according to the manufacturer’s instructions and allow it to dry completely before proceeding. This step is crucial to ensure a smooth, even finish and prevent the paint from seeping into the cracks.
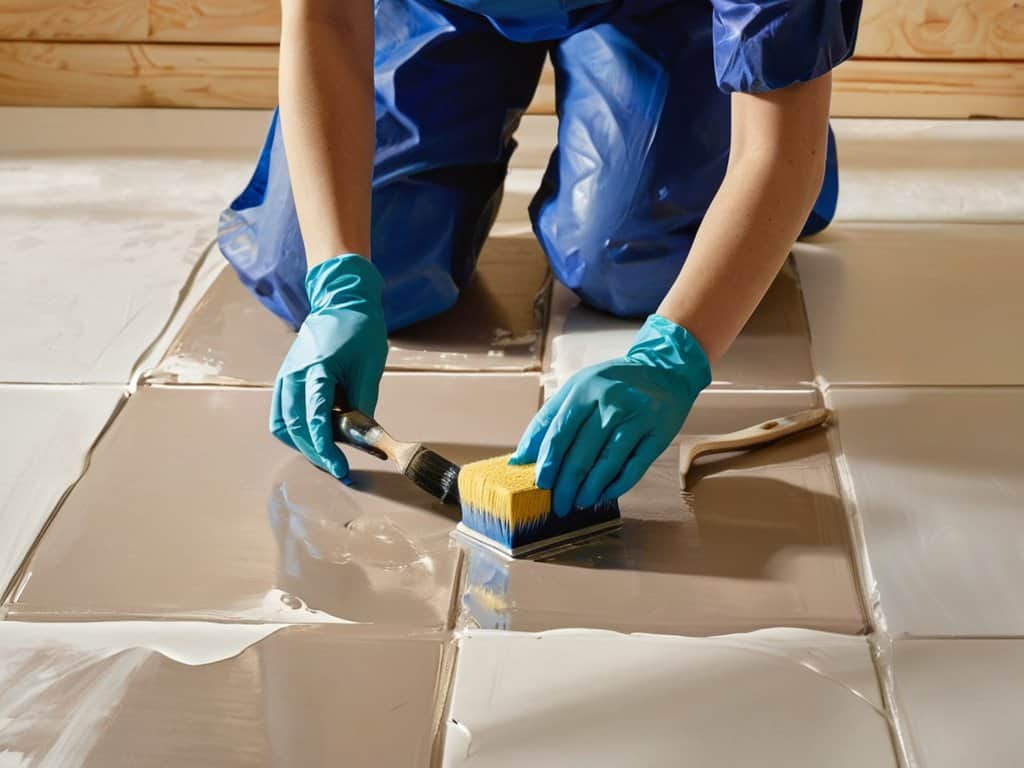
- 3. Now it’s time to clean and degrease the tile floor using a mixture of trisodium phosphate (TSP) and water. This will help remove any stubborn dirt, grime, or wax buildup that might affect the paint’s adhesion. Use a stiff-bristled brush to scrub the floor thoroughly, working in small sections to maintain even coverage.
- 4. After the floor is clean and dry, apply a primer specifically designed for tile to create a strong bond between the tile and the paint. Use a high-quality roller extension pole to cover large areas quickly and efficiently, working in sections to maintain even coverage. Allow the primer to dry according to the manufacturer’s instructions before proceeding.
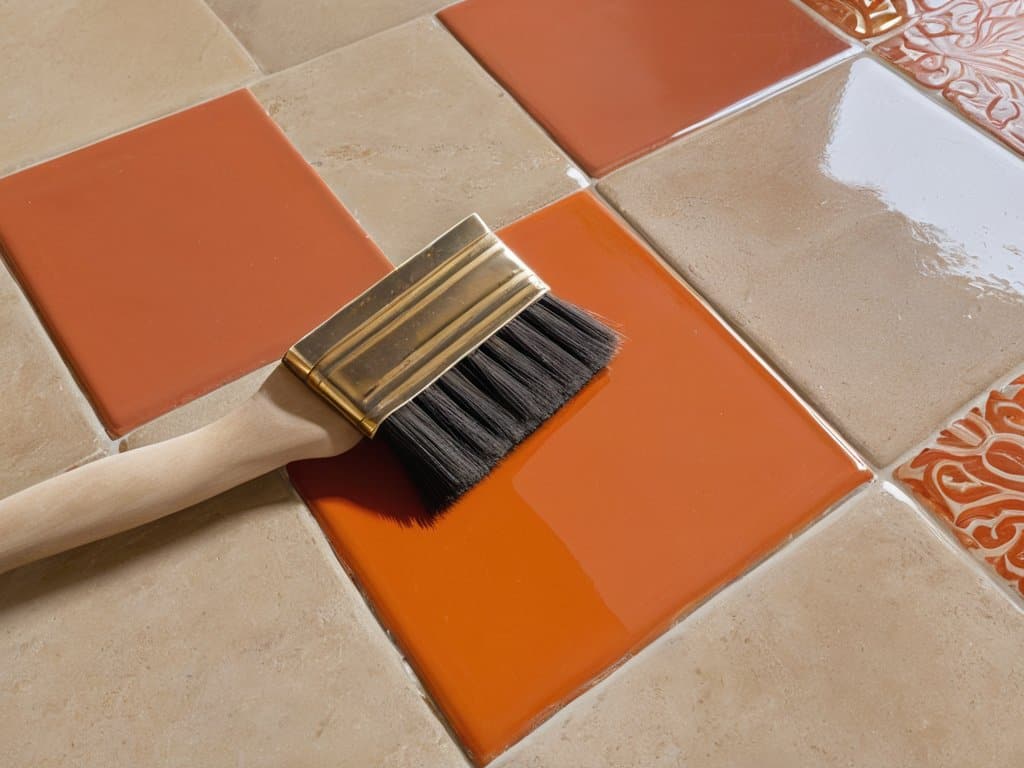
- 5. With the primer dry, it’s time to apply the paint. Use a high-quality, water-based epoxy paint specifically designed for tile floors, and apply it using a roller extension pole. Work in small sections, using a brush to cut in around the edges and any areas where the roller can’t reach. Apply two coats of paint, allowing the first coat to dry completely before applying the second.
- 6. Once the second coat of paint is dry, apply a clear coat of polyurethane to protect the paint and give it a glossy finish. Use a high-quality, water-based polyurethane specifically designed for floors, and apply it according to the manufacturer’s instructions. This will help extend the life of the paint and make it easier to clean and maintain.
- 7. Finally, allow the polyurethane to cure according to the manufacturer’s instructions before returning the room to its normal state. This can take anywhere from a few hours to several days, depending on the specific product and environmental conditions. Once the polyurethane is fully cured, your newly painted tile floor will be ready for foot traffic and regular use.
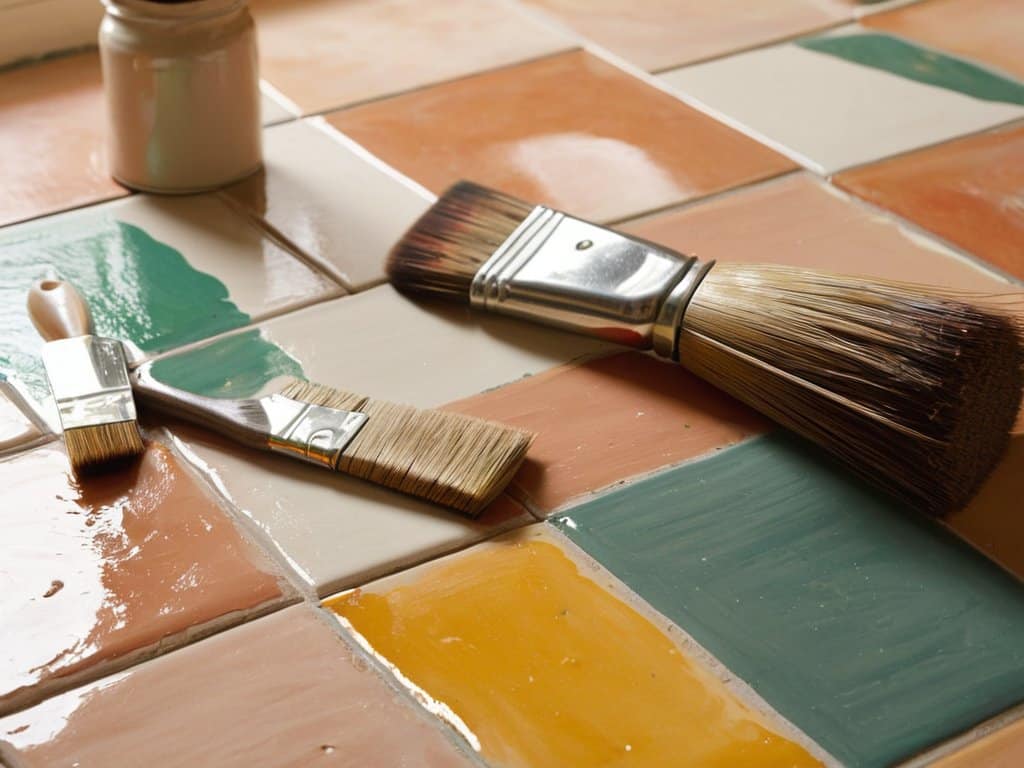
Diy Tile Floor Painting
When it comes to giving your tile floor a fresh new look, preparing tile floors for painting is a crucial step that should not be overlooked. This involves thoroughly cleaning the floor to remove any dirt, grime, or wax that may be present. A clean floor will ensure a strong bond between the tile and the paint, resulting in a durable tile floor finish. Additionally, fixing any cracks or damaged tiles before painting will help prevent further damage and ensure a smooth, even finish.
To achieve a professional-looking result, consider using tile floor stenciling techniques to add unique designs or patterns to your floor. This can be a fun and creative way to personalize your space and make it stand out. When choosing a stencil, select one that complements the style and color of your room, and use a best paint for tile floors that is specifically designed for tile surfaces.
Some common tile floor painting mistakes to avoid include applying too much paint at once, which can lead to a thick, uneven finish, and not allowing the paint to dry completely between coats. By following these tips and taking the time to properly prepare and paint your tile floor, you can achieve a beautiful, long-lasting finish that will enhance the look and feel of your space.
Avoiding Common Painting Mistakes
When painting your tile floor, it’s easy to get caught up in the excitement and rush through the process. However, this is where many DIY enthusiasts go wrong. One common mistake is not properly cleaning the floor before painting, which can lead to uneven adhesion and a blotchy finish. Another mistake is applying too much paint at once, causing it to pool and become difficult to spread evenly.
To avoid these mistakes, make sure to thoroughly sweep and mop your floor before painting, and use a primer if necessary. Additionally, apply thin, even coats of paint, allowing each coat to dry completely before adding the next. This will ensure a smooth, professional-looking finish that will last for years to come.
Best Paints for Tile Floors
When it comes to painting your tile floor, choosing the right paint is crucial. You’ll want a paint that’s specifically designed for tile and stone, as it will be able to withstand the wear and tear of foot traffic. Look for epoxy-based paints, which are known for their durability and resistance to scratches and fading. Some popular options include porch and floor paint, as well as specialized tile paint.
These paints usually come in a range of colors, so you can choose the one that best fits your style and decor. Make sure to read the labels and follow the instructions carefully to ensure a smooth and long-lasting finish.
Pro Tips for a Flawless Finish
- Always clean and degrease your tile floor before painting to ensure a strong bond between the paint and the tile
- Use a high-quality primer specifically designed for tile floors to prevent paint from peeling or flaking off
- Apply thin, even coats of paint, allowing each coat to dry completely before adding additional layers
- Work in small sections to maintain even coverage and avoid streaks or roller marks
- Seal your freshly painted tile floor with a clear, water-based polyurethane to protect the paint and make cleaning easier
Key Takeaways for a Successful DIY Tile Floor Painting
So you wanna give your tile floor a fresh new look without breaking the bank? Remember, painting it yourself is a super easy and affordable way to do just that, but make sure to choose the right paint for your tile type
Prepare your tile floor like a pro by cleaning and patching any damaged areas before painting to ensure a smooth and long-lasting finish
Steer clear of common painting mistakes like applying too much paint or not waiting long enough between coats, and you’ll be enjoying your newly painted tile floor in no time
Words of Wisdom
With a little patience and some TLC, you can turn your dull tile floor into a stunning work of art that reflects your unique style and personality – all without breaking the bank!
Sammy Snyder
Conclusion
In conclusion, painting your tile floor can be a fun and rewarding DIY project. By following the step-by-step instructions and choosing the best paints for tile floors, you can achieve a professional-looking finish without breaking the bank. Remember to avoid common painting mistakes by preparing your surface properly, applying thin coats, and allowing sufficient drying time between coats. With a little patience and elbow grease, you can transform your drab tile floor into a beautiful and durable surface that will last for years to come.
As you complete your DIY tile floor painting project, remember that the sense of accomplishment you’ll feel is just as valuable as the beautiful new look of your floor. Don’t be afraid to get creative and try new things – with the right mindset and a little practice, you can tackle even the most daunting DIY projects and achieve amazing results. So go ahead, take pride in your handiwork, and enjoy your newly refreshed space!
Frequently Asked Questions
What kind of primer is best to use before painting a tile floor?
For a tile floor, you’ll want a primer that’s specifically designed for surfaces that’ll be exposed to foot traffic and moisture. I recommend using a high-quality, water-based epoxy primer – it’s durable, versatile, and will give your paint a strong bond to adhere to.
How long does it typically take for the paint to fully dry and cure on a tile floor?
So, you’re wondering how long it takes for the paint to fully dry and cure on your tile floor? Typically, it takes around 24 to 48 hours for the paint to fully dry, and up to 7 days to completely cure – but make sure to check the specific instructions on your paint can for the most accurate info!
Can I paint over existing grout lines or do I need to regrout the entire floor before painting?
You can actually paint right over existing grout lines, but make sure they’re clean and dry first. If the grout is old or damaged, it’s best to regrout before painting for a smoother finish. Either way, use a primer specifically designed for tile and grout to ensure a strong bond and a fresh, new look.