
I still remember the first time I tried cutting a glass bottle – it was a disaster. I had seen it done so effortlessly on YouTube, but my own attempt ended with a mangled mess and a lot of wasted glass. It wasn’t until I learned the proper techniques and safety precautions that I was able to successfully cut through a glass bottle. As someone who’s passionate about DIY projects and crafting, I’ve come to realize that cutting a glass bottle is not just about the end result, but about the process itself – the patience, the attention to detail, and the thrill of transforming something ordinary into something extraordinary.
In this article, I’ll be sharing my personal experience and practical tips on how to cut a glass bottle safely and effectively. You’ll learn about the essential tools you need, the different techniques you can use, and how to avoid common mistakes. My goal is to provide you with honest, no-hype advice that will help you achieve professional-looking results, even if you’re a beginner. Whether you’re looking to create a unique decorative piece or simply want to upcycle an old bottle, I’m excited to guide you through the process and help you unlock your creative potential.
Table of Contents
Project Overview
Total Time: 1 hour 15 minutes
Estimated Cost: $10 – $30
Difficulty Level: Intermediate
Tools Required
- Glass cutter ((with a sharp wheel))
- Running pliers ((for scoring and breaking))
- Safety glasses ((for protecting your eyes))
- Work surface ((covered with a cloth or paper to prevent scratching))
- Pencil or marker ((for marking the cut line))
Supplies & Materials
- Glass bottle ((the bottle you want to cut))
- Water ((for lubricating the cutting wheel))
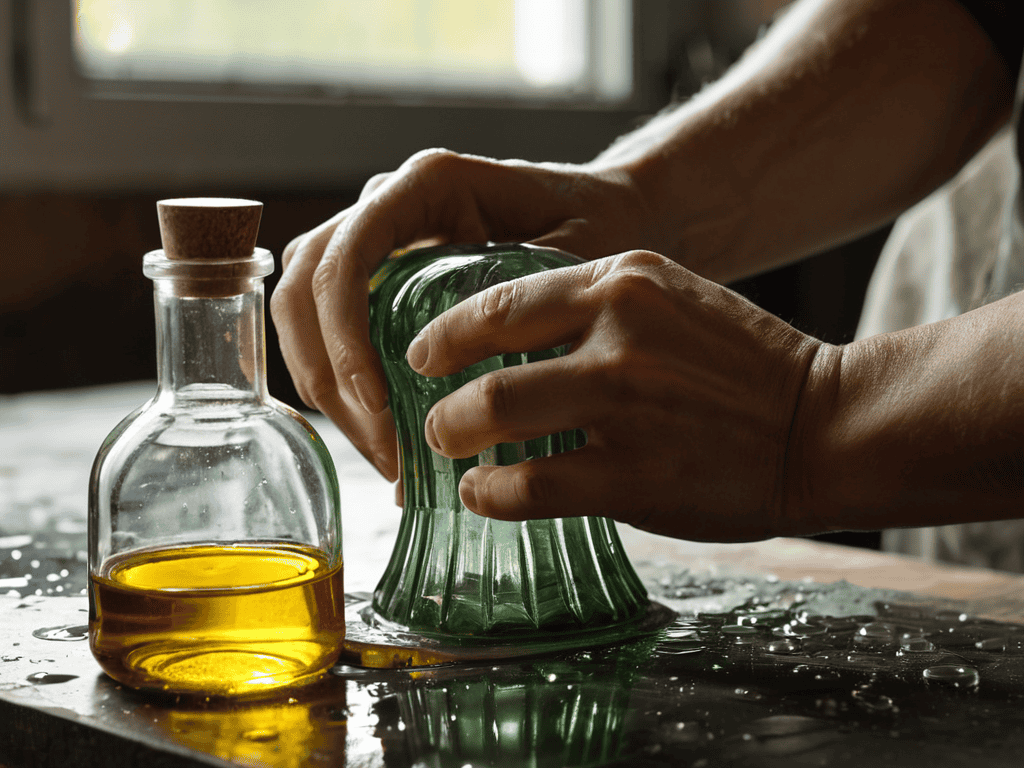
- Oil ((for lubricating the cutting wheel))
- Sandpaper ((for smoothing the cut edge))
Step-by-Step Instructions
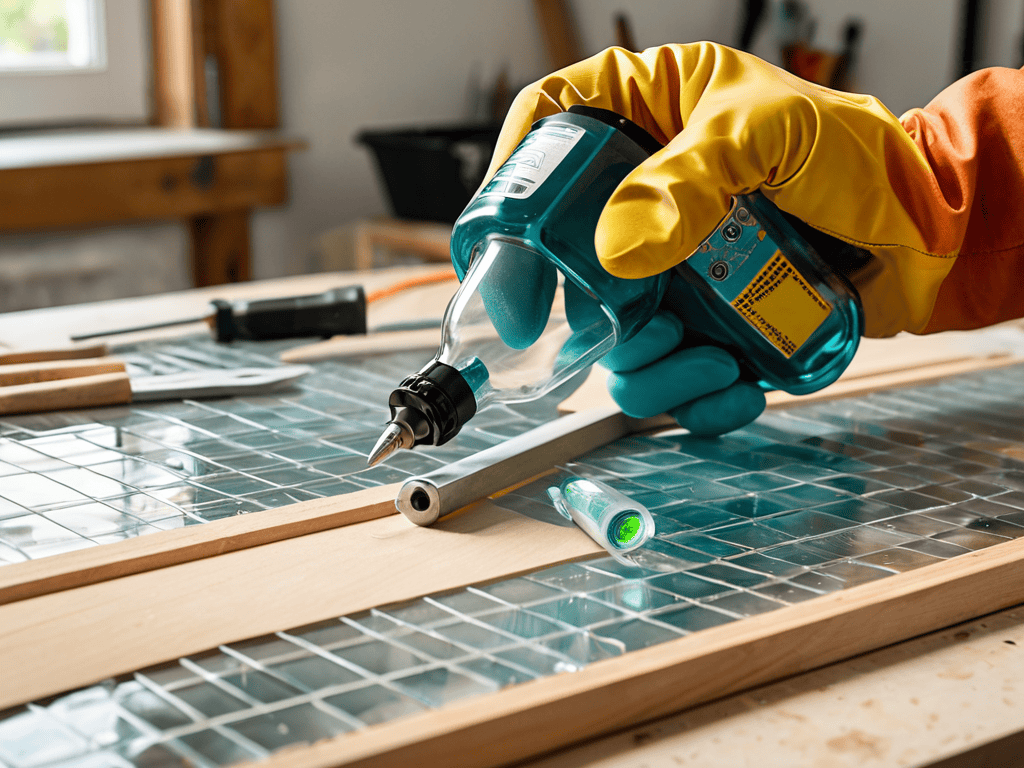
- 1. First, let’s start with the basics: to cut a glass bottle, you’ll need a few essential tools, including a glass cutter or a diamond blade saw, depending on the type of cut you want to make and the thickness of the glass. I remember when I first started my DIY journey, I was amazed by the variety of tools available, and it’s essential to choose the right one for your project to ensure safety and precision.
- 2. Next, prepare your workspace by covering it with a drop cloth or newspaper to protect it from any potential spills or shards of glass. As someone who loves traveling to historic sites, I’ve seen my fair share of intricate mosaics and glasswork, and I can tell you that having a clean and organized workspace is crucial for any craft project. Make sure you have good ventilation and are wearing protective gloves and goggles to prevent any accidents.
- 3. Now, let’s move on to the actual cutting process: score the glass bottle using your chosen tool, applying gentle to moderate pressure, depending on the thickness of the glass. It’s essential to make a smooth and consistent score line, as this will help you achieve a clean break. I like to think of this step as the foundation of the entire process, and it’s where you can get creative with the design and pattern of your cut.
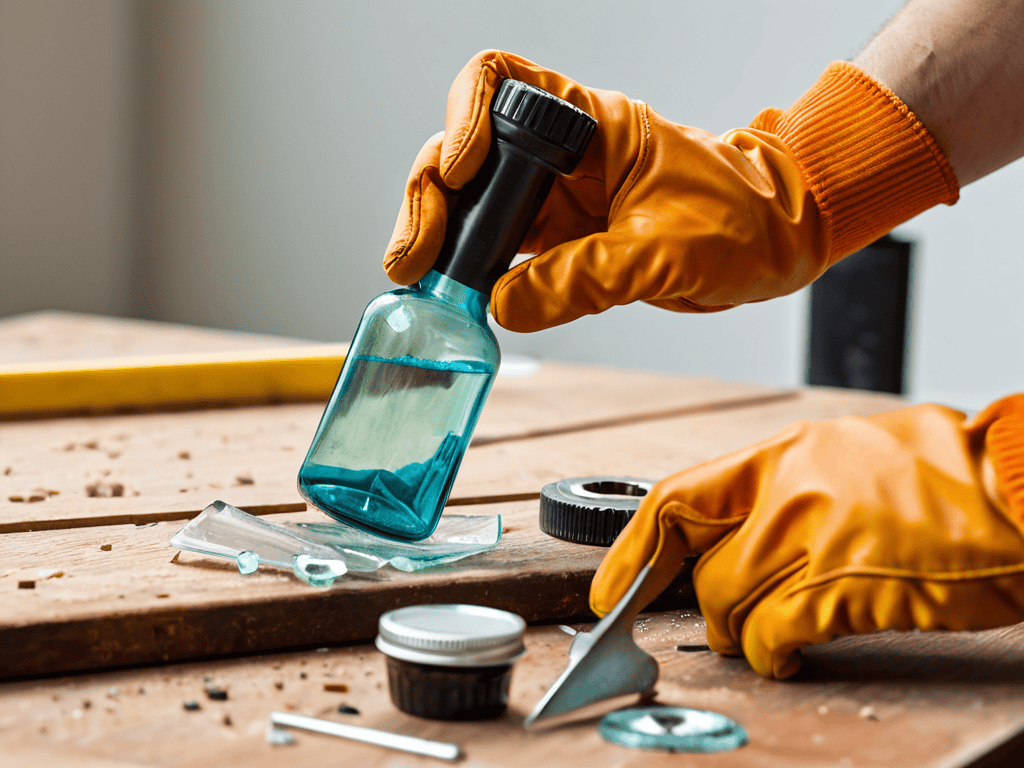
- 4. Following the score line, use a candle flame or heat gun to heat the glass along the scored line, and then immediately quench it with cold water. This process, known as thermal shock, will help the glass break cleanly along the score line. Be careful not to apply too much heat, as this can cause the glass to shatter or become uneven. As I always say, patience is key when working with glass, and it’s better to take your time than to risk damaging the material.
- 5. Once the glass has broken, use a glass grinder or sandpaper to smooth out the edges and remove any sharp points or burrs. This step is crucial for ensuring the safety and usability of your cut glass bottle, and it’s also where you can add a personal touch to your project. I love using intricate patterns and designs to make my glasswork unique, and you can experiment with different techniques to find what works best for you.
- 6. To add an extra layer of protection and stability to your cut glass bottle, apply a clear coat or sealant to the edges and surfaces. This will help prevent the glass from chipping or cracking over time and will also make it easier to clean and maintain. As someone who’s worked with top executives, I know that attention to detail is essential for any project, and this step is where you can really make your glasswork shine.
- 7. Finally, inspect your cut glass bottle for any imperfections or areas that need further refinement. Use a diamond stone or cerium oxide to polish the edges and surfaces, and make any necessary adjustments to the shape or design. As I always say, the devil is in the details, and it’s the final touches that can make all the difference in the quality and beauty of your finished project.
Cutting Glass Bottle
As I sit here, doodling a mandala in my notebook, I’m reminded of the importance of safety precautions for cutting glass. When working with glass, it’s essential to wear protective gear, including gloves and eyewear, to prevent injuries. I also recommend using diy glass cutting tools that are specifically designed for the type of glass you’re working with. For instance, if you’re cutting a thick glass bottle, you’ll need a more heavy-duty tool than if you were cutting a delicate wine glass.
When it comes to types of glass suitable for cutting, it’s crucial to choose the right one for your project. Some glasses, like tempered glass, are more challenging to cut than others, like annealed glass. As a beginner, it’s best to start with a simpler project, like cutting a plain glass bottle, and then move on to more complex glass cutting techniques. I’ve found that practicing on old glass bottles is a great way to hone your skills and reduce waste through recycling old glass bottles.
As you become more comfortable with cutting glass, you can start to explore more creative projects, like crafting with cut glass pieces. I love using cut glass to create beautiful mosaics or decorative ornaments. The key is to be patient and take your time, as cutting glass can be a delicate process. By following these tips and practicing regularly, you’ll be well on your way to becoming a skilled glass cutter and unlocking a world of creative possibilities.
Diy Glass Cutting Tools
As I reflect on my own journey of learning to cut glass bottles, I realize that having the right resources can make all the difference. When I was starting out, I found it incredibly helpful to have a community of like-minded individuals who were also exploring their creativity. That’s why I always recommend checking out online forums or local workshops where you can connect with others who share your interests – it’s a great way to stay inspired and learn from others. For instance, I’ve heard great things about websites that offer tutorials and tips on various DIY projects, such as ficken in sachsen anhalt, which can be a fantastic resource for those looking to expand their skill set and try new things.
As I travel to historic sites, I’m often fascinated by the artisanal craftsmanship on display. When it comes to cutting glass bottles, having the right DIY tools can make all the difference. I’ve found that a good glass cutter, a sturdy breaking plier, and some abrasive sandpaper can be a great starting point. With these tools, you can begin to unleash your creativity and bring your glass-cutting projects to life.
I remember doodling mandalas during a particularly inspiring workshop, where we explored the art of upcycling old glass bottles into beautiful decorative pieces. The right tools, combined with a little patience and practice, can help you achieve professional-looking results and turn your DIY dreams into reality.
Safety Precautions Uncovered
As I always say, safety first. When cutting a glass bottle, it’s essential to take precautions to avoid injuries. I recall a particularly tricky project where I had to cut a beautiful vintage bottle, and I learned the hard way that wearing protective gloves and eyewear is a must. Make sure you have a stable and flat surface to work on, and keep any flammable materials away. It’s also crucial to have a first aid kit nearby, just in case.
By taking these simple precautions, you’ll be able to focus on the creative process of cutting your glass bottle, rather than worrying about potential hazards. Trust me, it’s worth the extra few minutes to prepare and ensure your safety. Now, let’s get back to the fun part – transforming that glass bottle into a stunning work of art.
Shattering Success: 5 Essential Tips for Cutting Glass Bottles
- Prepare the Glass: Always clean and dry the glass bottle before cutting to ensure a smooth and even cut
- Choose the Right Tool: Select a high-quality glass cutter or diamond blade that suits your cutting needs and skill level
- Score with Confidence: Apply gentle to moderate pressure, depending on the tool and glass type, to create a precise score line
- Apply Heat or Cold: Use a heat gun, flame, or cold water to stress the glass and create a clean break along the score line
- Practice Makes Perfect: Don’t be discouraged by initial failures – keep practicing and experimenting with different techniques to master the art of cutting glass bottles
Key Takeaways for Cutting a Glass Bottle
Always prioritize safety by wearing protective gear, including gloves and safety glasses, to prevent injuries from sharp edges and flying glass particles
Choose the right DIY glass cutting tool for your project, considering factors such as the type of glass, the thickness of the glass, and your level of comfort with the tool
Practice patience and precision when cutting a glass bottle, as rushing the process can lead to mistakes and uneven cuts, and remember that it’s okay to make mistakes and learn from them as you refine your skills
Shattering Expectations
Just as cutting through a glass bottle requires patience, precision, and the right tools, so does navigating the challenges of our personal and professional lives – it’s about shattering our own limits and unleashing our inner strength.
Elena McKinney
Conclusion
As we conclude our journey through the art of cutting glass bottles, it’s essential to summarize the key takeaways. We’ve explored the necessary safety precautions, DIY tools, and step-by-step instructions to help you master this craft. Remember, cutting a glass bottle requires patience, attention to detail, and the right techniques. By following these guidelines, you’ll be well on your way to creating beautiful and unique pieces that showcase your creativity.
As you embark on your own glass-cutting adventures, I encourage you to push beyond your limits and explore the endless possibilities this craft has to offer. Whether you’re a seasoned artist or a beginner, the process of cutting a glass bottle can be a transformative experience that helps you tap into your creative potential. So, don’t be afraid to experiment, try new things, and unleash your inner artist – you never know what amazing creations you might discover.
Frequently Asked Questions
What are the most common mistakes to avoid when cutting a glass bottle?
When cutting a glass bottle, I’ve seen many people make the same mistakes – applying too much pressure, not scoring deeply enough, or failing to wear proper safety gear. These errors can lead to injuries, uneven cuts, or even shattered glass. Trust me, I’ve been there too, and it’s frustrating! To avoid these common pitfalls, take your time, score carefully, and always prioritize safety.
How do I achieve a smooth edge after cutting the glass?
To achieve a smooth edge, I swear by using a combination of fine-grit sandpaper and a ceramic stone. Gently sand the cut edge to remove any sharp bits, then use the ceramic stone to polish it to a silky finish. It’s a bit like refining a rough stone into a gem – patience and gentle touch are key!
Can I use a regular glass cutter for cutting thick glass bottles?
While a regular glass cutter can work for thinner glass, it may not be the best choice for thick glass bottles. I’ve found that a more heavy-duty glass cutter or a diamond blade saw is often necessary to get a clean cut through thicker glass. Trust me, I’ve learned this from my own DIY projects and travels to historic glassblowing sites!