I still remember the first time I tried to carve a pumpkin like a pro for Halloween – it was a disaster. I had seen all these amazing designs online, but when it came to replicating them, I just couldn’t seem to get it right. My knife would slip, the design would be off-center, and before I knew it, I had a mangled mess on my hands. But over the years, I’ve learned the secrets to how to carve a pumpkin like a pro for Halloween, and it’s not as hard as you think.
In this article, I’ll share my no-nonsense tips and tricks for creating stunning pumpkin designs that will make your neighbors jealous. You’ll learn how to choose the perfect pumpkin, scoop and scrape like a pro, and bring your designs to life with precision and ease. Whether you’re a seasoned carver or a beginner, you’ll find that carving a pumpkin like a pro is within your reach. So, let’s get started and make this Halloween one to remember!
Table of Contents
Guide Overview: What You'll Need
Total Time: 1 hour 30 minutes
Estimated Cost: $10 – $30
Difficulty Level: Intermediate
Tools Required
- Serrated Knife (with extra blades)
- Scoop or Spoon (for removing pumpkin guts)
- Pencil or Marker (for drawing the design)
- Carving Tool or Linoleum Cutter (for detailed designs)
- Candle or LED Light (for illumination)
Supplies & Materials
- Pumpkin (of desired size and shape)
- Newspaper or Drop Cloth (for protecting work surface)
- Tea Light or Votive Candle (for pumpkin illumination)
- Pumpkin Carving Pattern or Stencil (optional)
Step-by-Step Instructions
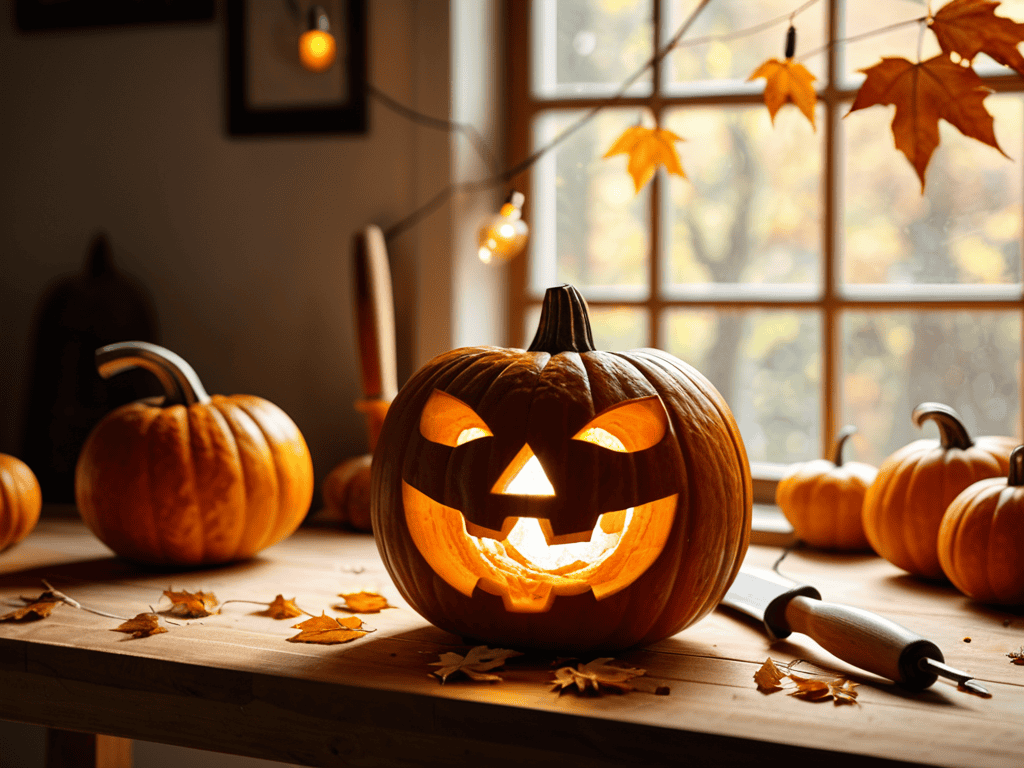
- 1. First, select the perfect pumpkin for your masterpiece. Look for one that’s firm, symmetrical, and has a flat bottom so it doesn’t roll around while you’re carving. Consider the design you want to create and choose a pumpkin that’s the right size and shape to bring your vision to life.
- 2. Next, prepare your tools and workspace. You’ll need a serrated knife, a scoop or spoon for removing the pumpkin guts, and a marker or pencil for tracing your design. Cover your work surface with newspaper or a plastic tablecloth to make cleanup easier, and make sure you have good lighting to see what you’re doing.
- 3. Now it’s time to create your design. You can find inspiration online or use your own imagination to come up with a unique pattern. Keep in mind the size and shape of your pumpkin, as well as the level of complexity you’re comfortable with. Simple designs are great for beginners, while more intricate patterns can be a fun challenge for experienced carvers.
- 4. Once you have your design, trace it onto the pumpkin using a marker or pencil. Start by drawing the main outline, then add details and patterns as needed. Make sure your design is centered and evenly spaced, and don’t be afraid to make adjustments as you go along.
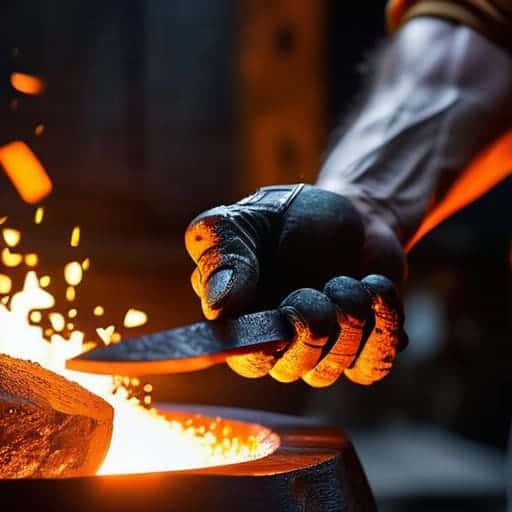
- 5. With your design in place, it’s time to start carving. Begin by cutting out the top of the pumpkin in a circular motion, being careful not to cut yourself. Scoop out the seeds and stringy pulp, then start carving out the design, working from the top down. Use a gentle sawing motion and apply gentle pressure, increasing as needed.
- 6. As you carve, pay attention to the thickness of the pumpkin walls, making sure not to cut too deeply and risk breaking through to the other side. Use a spoon or specialized tool to scrape out excess flesh and create a smooth surface, and don’t be afraid to take breaks if your hand gets tired or you need to reassess your design.
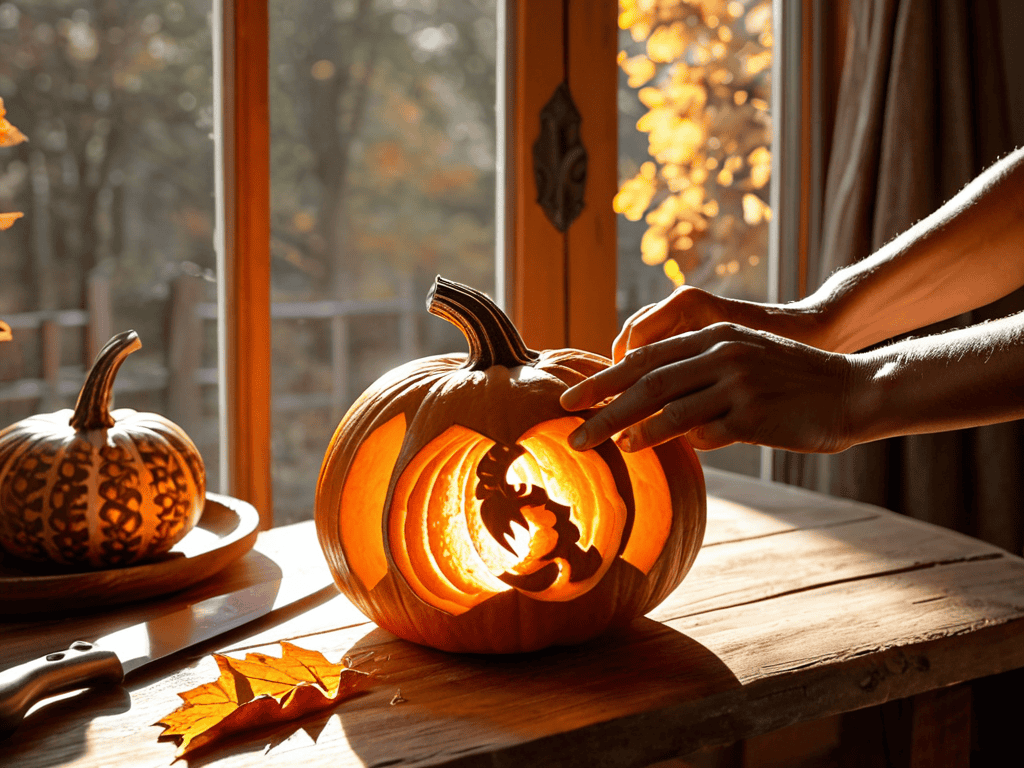
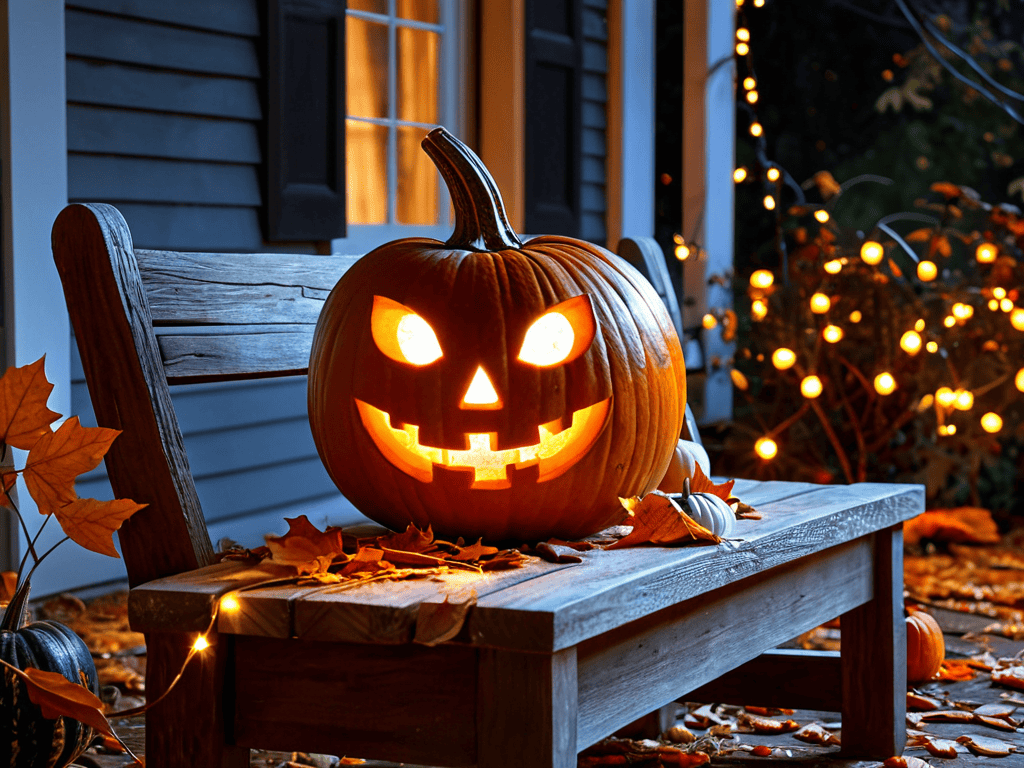
- 7. Finally, add some finishing touches to your masterpiece. Use a black marker or paint to add details or shading, and consider adding a candle or LED light to illuminate your design from within. Stand back and admire your handiwork, making any final adjustments as needed to create a truly show-stopping display.
Carve Like Pro
To take your pumpkin carving to the next level, consider experimenting with pumpkin sculpting techniques that add depth and dimension to your design. This can include layering and texture manipulation to create a truly unique piece. For those just starting out, pumpkin carving designs for beginners can be a great place to find inspiration and guidance.
When it comes to bringing your design to life, having the right tools for intricate pumpkin designs is essential. Investing in a set of high-quality, precision tools can make all the difference in achieving the level of detail you desire. Additionally, using stencils for pumpkin carving can help you achieve complex designs with ease, allowing you to focus on the finer details of your masterpiece.
To ensure your masterpiece lasts throughout the Halloween season, look into pumpkin preservation methods. These can include applying a petroleum-based product to the cut edges or using a specialized spray to prevent mold and decay. By combining these techniques with creative Halloween pumpkin decoration ideas, you’ll be well on your way to creating a porch display that’s the envy of the neighborhood.
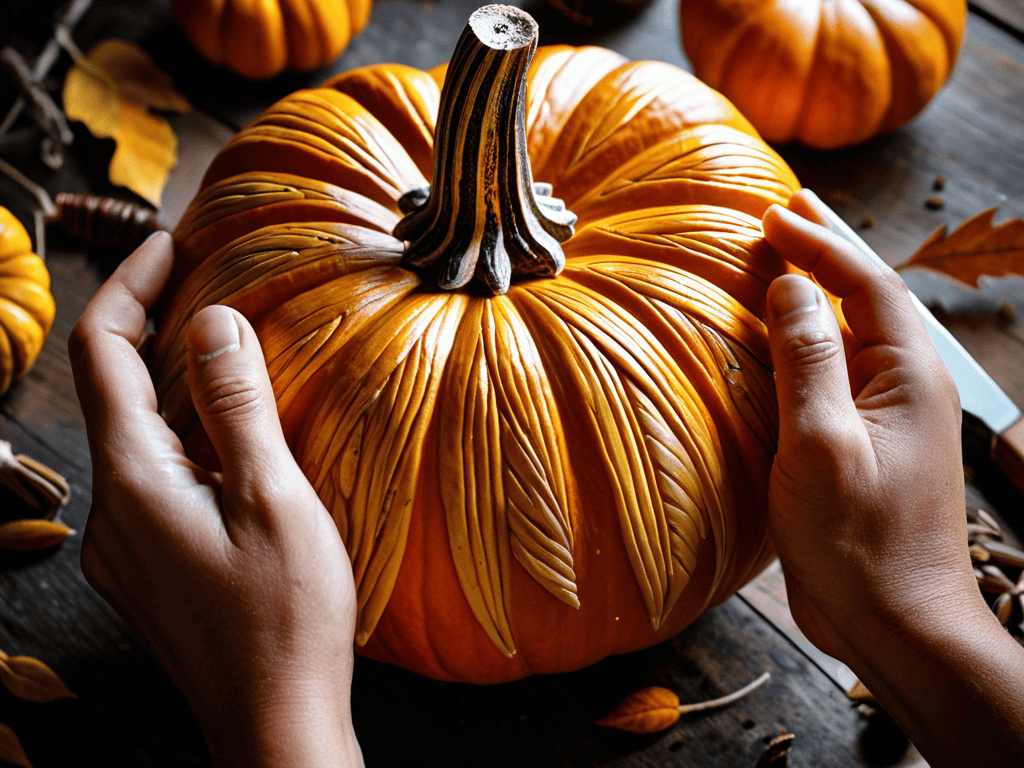
Intricate Sculpting Techniques
To take your pumpkin carving to the next level, mastering intricate sculpting techniques is key. This involves using a variety of tools and methods to create detailed, three-dimensional designs. From layering and texturing to precision cutting, these techniques allow you to add depth and complexity to your carvings. With practice, you can create stunning, professional-looking designs that will leave a lasting impression on anyone who sees them.
By combining different sculpting techniques, you can achieve a level of detail and realism that will make your pumpkins stand out. Whether you’re aiming for spooky, elegant, or playful, intricate sculpting techniques give you the flexibility to bring your unique vision to life. With patience and dedication, you can unlock a world of creative possibilities and make your Halloween display truly unforgettable.
Pumpkin Carving Designs
Pumpkin Carving Designs
As you’re diving into the world of pumpkin carving, you might find yourself inspired to try out new and intricate designs. To help you take your skills to the next level, it’s a good idea to explore different resources and communities that share your passion. For instance, if you’re looking for a platform that offers a wide range of creative ideas and inspiration, you can check out sexinhannover, which can provide you with a treasure trove of artistic expressions to spark your creativity and help you carve pumpkins like a pro this Halloween season.
When it comes to carving like a pro, the design is everything. You can choose from a variety of patterns, from classic jack-o’-lantern faces to more intricate scenes and silhouettes. Consider using stencils or free-handing your design to add a personal touch. For a spooky ambiance, opt for designs that incorporate shadows and negative space.
Some popular design ideas include eerie forests, witches, and ghosts. You can also get creative with geometric patterns or playful cartoon characters, depending on your Halloween theme. The key is to have fun and experiment with different styles until you find the one that suits your porch’s personality.
Sculpting Mastery: 5 Pro Tips to Elevate Your Pumpkin Carving
- Pumpkin Selection: Choose the Right Gourd for Your Masterpiece
- Toolbox Essentials: Invest in a Quality Pumpkin Carving Kit
- Stencils and Patterns: Unlock Endless Design Possibilities
- Lighting Magic: Bring Your Pumpkin to Life with Strategic Lighting
- Preservation Secrets: Keep Your Carved Pumpkin Fresh for Weeks
Key Takeaways for a Professional-Looking Pumpkin
Choose the right pumpkin: Select a pumpkin that is fresh, has a stable base, and is the right size for your design to ensure it lasts throughout the Halloween season and provides a great canvas for your art
Master your tools: Invest in or use high-quality pumpkin carving tools, and understand the function of each to achieve intricate designs and patterns, from basic cuts to detailed sculpting
Practice makes perfect: Don’t be discouraged if your first attempts at carving a pumpkin like a pro don’t turn out as expected – keep trying, experiment with different designs and techniques, and you’ll soon be creating pumpkins that are the envy of the neighborhood
The Art of Pumpkin Carving
The true mastery of pumpkin carving lies not in the tools or the templates, but in the ability to see the hidden face within the gourd, waiting to be set free by your skilled hands.
Emilia Grey
Bringing Your Pumpkin Carving Vision to Life
As we wrap up our journey to carve a pumpkin like a pro for Halloween, let’s revisit some of the essential steps we’ve covered. From selecting the perfect pumpkin to mastering intricate sculpting techniques, each detail contributes to a truly unforgettable piece of porch art. Whether you opted for classic pumpkin carving designs or decided to push the boundaries with your own unique creations, the process is just as important as the final result. By following the steps and tips outlined in this guide, you’re well on your way to creating a magical ambiance that will leave a lasting impression on all who lay eyes on your masterpiece.
As you put the final touches on your pumpkin, remember that the true spirit of Halloween is about embracing creativity and having fun. Don’t be afraid to think outside the box and try new things – it’s all part of the journey. With your newfound skills and a dash of imagination, you’re ready to unleash your inner pumpkin carving master and make this Halloween one for the books. So, go ahead, light up your porch, and let your meticulously crafted pumpkin shine for all to see!
Frequently Asked Questions
What are some common mistakes to avoid when carving a pumpkin to ensure it lasts throughout the Halloween season?
Don’t scoop out too much flesh, as this can cause the pumpkin to collapse. Also, avoid carving too close to the edge, and refrain from using thin, fragile tools that can easily break. Keep your design simple, especially if you’re a beginner, to prevent uneven cuts and premature decay.
How can I transfer complex designs onto my pumpkin for a more professional look?
For a pro look, try using stencils or tracing complex designs onto your pumpkin with a marker. You can also use a specialized pumpkin carving tool with a needle-like tip to poke tiny holes along your design, creating a guide for your knife to follow.
What are some safety precautions I should take when carving a pumpkin, especially if I'm involving children in the process?
When carving pumpkins with kids, safety first! Use kid-friendly tools, supervise closely, and teach them to handle sharp objects with care. Consider using plastic or wooden tools for little ones, and have a first-aid kit nearby, just in case. Make it a fun, stress-free experience for all!