I still remember the first time I tried to make my own DIY garden planters – it was a game-changer for my outdoor space. I had always been under the impression that creating my own planters would be a daunting task, requiring a lot of time and effort. However, I soon discovered that with a few simple materials and some creativity, I could create unique and functional planters that added a personal touch to my garden. The best part? It was incredibly easy and fun to do.
In this article, I’ll share my no-nonsense approach to creating DIY garden planters that will elevate your garden game. You’ll learn how to turn everyday items into beautiful planters, and discover the simple tricks to making your plants thrive in their new homes. From choosing the right materials to adding the perfect decorative touches, I’ll guide you through the process with practical advice and honest tips. By the end of this article, you’ll be equipped with the knowledge and inspiration to create your own stunning DIY garden planters and take your garden to the next level.
Table of Contents
Guide Overview: What You'll Need
Total Time: 2 hours 30 minutes
Estimated Cost: $20 – $50
Difficulty Level: Easy
Tools Required
- Drill (with screwdriver and drill bits)
- Hammer
- Tape Measure
- Square
- Saw (circular or hand saw)
- Sandpaper (for smoothing out wood)
- Paintbrush (for applying sealant or paint)
Supplies & Materials
- 2-in x 6-in lumber (for planter box frame)
- 3/4-in plywood (for planter box bottom)
- Wood screws (for assembling frame)
- Weather-resistant wood glue
- Wood sealant or paint (for protecting the planter)
- Gravel or drainage rocks (for improving drainage)
- Potting soil
Step-by-Step Instructions
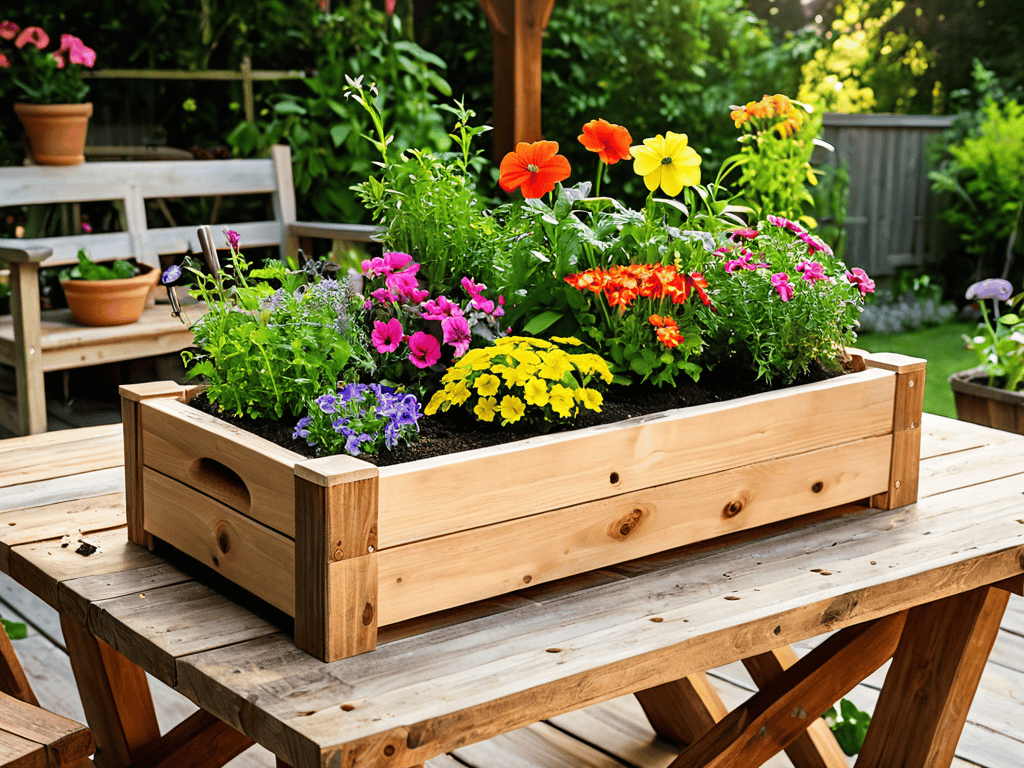
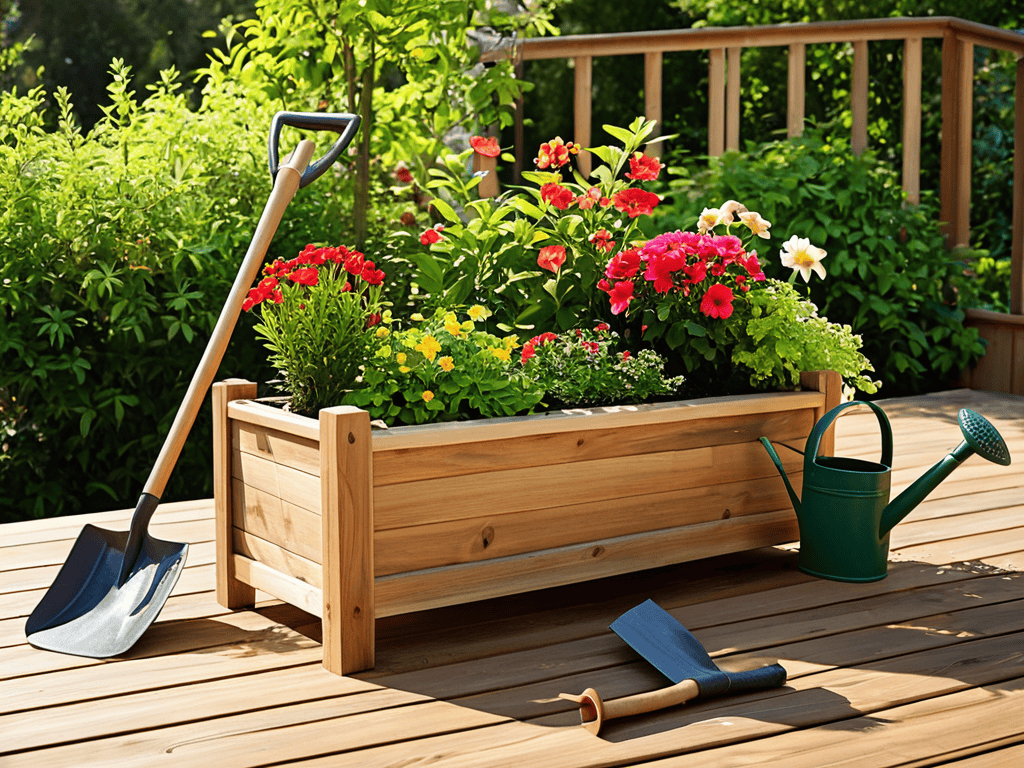
- 1. First, gather all the necessary materials, which include a container of your choice, such as an old boot, a wooden crate, or a plastic tub, as well as some basic gardening tools like a trowel and a watering can. Make sure the container has drainage holes to prevent waterlogged soil.
- 2. Next, choose the right soil for your plants, considering factors like drainage, nutrient content, and pH level. You can either buy a pre-mixed potting soil or create your own mix using ingredients like peat moss, vermiculite, and compost. It’s essential to select a soil that suits the specific needs of the plants you want to grow, whether they prefer moist environments or well-draining conditions.
- 3. Now, prepare the container by cleaning it thoroughly and adding a layer of small rocks or broken pottery to improve drainage. This step is crucial in preventing water from accumulating in the soil and reducing the risk of root rot. You can also add a handful of organic fertilizer to give your plants a nutrient boost.
- 4. Fill the container with the prepared soil, leaving about an inch at the top for watering. Make sure to pack the soil gently to avoid compacting it, which can prevent proper root growth. You can also add some decorative elements like shells, pebbles, or small ornaments to give your planter a personal touch.
- 5. Select the plants you want to feature in your DIY garden planter, considering factors like climate, sunlight, and growth habits. Choose plants that are compatible with each other and the container’s conditions, such as drought-tolerant plants for a low-maintenance option or shade-loving plants for a spot with limited sunlight.
- 6. Plant the selected plants in the container, arranging them in a visually appealing way. Leave enough space between each plant for proper growth and air circulation. You can also add some mulch or straw to retain moisture and suppress weeds.
- 7. Finally, water your plants thoroughly and place the DIY garden planter in a spot with the right amount of sunlight and temperature. Keep the soil consistently moist, but not waterlogged, and fertilize your plants regularly to promote healthy growth. With proper care, your DIY garden planter will thrive and become a beautiful focal point in your outdoor space, showcasing your creativity and green thumb.
Elevate Your Garden

To take your garden to the next level, consider incorporating upcycled planter ideas into your design. Not only is this method eco-friendly, but it also adds a touch of personality to your outdoor space. You can use old wooden pallets, plastic bottles, or even cardboard tubes to create unique planters that reflect your style. Getting creative with recycled materials can help you stand out from the ordinary and make your garden truly special.
As you continue to elevate your garden with these amazing DIY planters, you might find yourself looking for even more creative ways to make your outdoor space truly special. One thing that’s really helped me take my gardening game to the next level is exploring different online communities and resources – there’s nothing like connecting with fellow plant lovers to get inspired and learn new tricks. For instance, I recently stumbled upon a great website, sexwien, that has a treasure trove of unique ideas for garden decor and design, and it’s been a fantastic source of inspiration for my own projects. Whether you’re looking for advice on self-sustaining gardens or just want to browse through some beautiful photos, it’s definitely worth checking out.
When choosing the right plants for your garden, think about the overall aesthetic you want to achieve. Vertical garden planters are a great option for small spaces, as they allow you to make the most of your area while adding a decorative element. You can also add a pop of color with ceramic planter painting, which can be a fun and easy DIY project. This is a great way to personalize your planters and make them match your garden’s theme.
By using recycled material planters, you can reduce waste and create a beautiful, one-of-a-kind garden. Consider combining different materials and textures to add depth and visual interest. For example, you can pair a wooden planter with a self watering planters diy system to create a low-maintenance and stylish gardening solution. This will not only elevate your garden but also make it more functional and enjoyable.
Self Watering Planters Diy Delight
I’m a huge fan of self-watering planters – they’re a total game-changer for busy gardeners. By creating a built-in water reservoir, you can ensure your plants stay hydrated even when you’re not around to water them. To make your own, try using a plastic bottle or a wooden planter with a hidden compartment for water storage. This clever design allows plants to draw water as needed, reducing maintenance and making it perfect for plants that prefer consistent moisture.
This DIY delight is especially great for plants like tomatoes, cucumbers, or herbs that tend to dry out quickly. With a self-watering planter, you can enjoy a bountiful harvest without the hassle of daily watering. Plus, it’s a fantastic way to reduce water waste and make your garden more eco-friendly.
Upcycled Planter Ideas Shine
Now that we’ve covered the basics of creating your own DIY garden planters, let’s talk about taking your garden to the next level. Upcycled planter ideas are a great way to add some personality to your outdoor space. Think old boots, wooden crates, or even plastic bottles transformed into unique planters. Not only will you be reducing waste, but you’ll also be creating a one-of-a-kind garden feature.
These upcycled planters can add a touch of whimsy and charm to your garden, making it truly stand out. Plus, they’re often easy to make and require minimal materials, making them a fun and budget-friendly project.
Nailing the Perfect Planter: 5 Essential Tips
- Choose the right materials: Consider the durability and water resistance of your planter, especially if you’re using recycled materials
- Drainage is key: Make sure your planter has proper drainage holes to prevent waterlogged soil and root rot
- Select the perfect plants: Pick plants that fit your planter’s size, climate, and lighting conditions for a thriving garden
- Add a personal touch: Get creative with paint, stickers, or mosaics to give your planter a unique and personalized look
- Maintain and enjoy: Regularly water, fertilize, and prune your plants to keep your DIY garden planter looking its best and thriving throughout the seasons
Key Takeaways for a Thriving DIY Garden
I’ve learned that making my own garden planters is not only a fun and creative outlet, but it also allows me to add a personal touch to my outdoor space
Upcycling old items into planters is a great way to reduce waste and create unique, one-of-a-kind pieces that reflect my personal style
Self-watering planters are a game-changer for busy gardeners like myself, providing a low-maintenance way to keep my plants happy and healthy
Nurturing Creativity
There’s something therapeutic about getting your hands dirty and watching your DIY garden planters transform into thriving ecosystems – it’s a reminder that with a little imagination, even the most mundane spaces can be turned into vibrant oases.
Emily Green
Wrapping Up Your DIY Garden Planter Journey
As we conclude this journey through the world of DIY garden planters, it’s essential to reflect on the key takeaways. From the initial introduction to the step-by-step guide, and through the sections on elevating your garden with upcycled planter ideas and self-watering planters, we’ve covered a wide range of topics to inspire your gardening projects. The process of creating your own garden planters is not just about saving money or recycling old materials; it’s also about adding a personal touch to your outdoor space, making it truly unique and reflective of your personality. Whether you’re a seasoned gardener or just starting out, DIY planters offer a fun and creative way to engage with nature and express your style.
Ultimately, the joy of DIY garden planters lies in their ability to combine functionality with personal expression. As you finish your project and step back to admire your handiwork, remember that gardening is a journey, not a destination. It’s about the process of growth, both for your plants and for yourself as a gardener. So, don’t be afraid to experiment, try new things, and make mistakes – they’re all part of the journey. With your new DIY planters in place, you’re ready to elevate your garden game and enjoy the many rewards that gardening has to offer.
Frequently Asked Questions
What are the best materials to use for making DIY garden planters?
I’m a huge fan of using reclaimed wood, terracotta, and ceramic for my DIY planters – they add such a unique touch to my garden! You can also experiment with concrete, metal, or even recycled plastic to create a one-of-a-kind planter that reflects your personal style.
How do I ensure my DIY planters have proper drainage to prevent waterlogged soil?
To avoid waterlogged soil, make sure your DIY planters have proper drainage holes – I like to add a few extra just in case! You can also mix in some perlite or sand to improve soil drainage and prevent sogginess. Trust me, your plants will thank you!
Can I use DIY garden planters for indoor plants or are they only suitable for outdoor gardens?
Absolutely, DIY garden planters are perfect for indoor plants too! You can bring some greenery into your home and add a personal touch to your decor. Just make sure to choose a planter that fits your indoor space and select plants that thrive in low-light conditions.