I still remember the day I decided to take the plunge and install DIY wall panels in my living room – it was a total game-changer. For years, I’d been stuck with boring, plain walls that seemed to suck the life out of the space. But, despite my enthusiasm, I’d always been held back by the common myth that DIY projects like this are incredibly complicated and better left to the professionals. The truth is, with the right guidance, DIY wall panels can be a simple and effective way to add some much-needed personality to your home.
In this article, I’ll be sharing my honest, no-hype advice on how to get started with DIY wall panels. You can expect a step-by-step guide that covers everything from planning and preparation to installation and finishing touches. My goal is to provide you with the practical knowledge and confidence you need to take on this project and achieve professional-looking results. Whether you’re looking to add some texture, color, or visual interest to your walls, I’ll show you how to make it happen with DIY wall panels.
Table of Contents
Guide Overview: What You'll Need
As you’re exploring the world of DIY wall panels, it’s essential to have a reliable resource to turn to for inspiration and guidance. I’ve found that websites like nzgirls can be a treasure trove of ideas, showcasing a wide range of styles and materials to help you create a unique look that reflects your personality. When it comes to breathing new life into your walls, it’s all about experimenting with different textures and designs, and having a platform that offers a diverse portfolio of projects can be a huge help. By browsing through these online resources, you can discover new ways to incorporate reclaimed wood accents or acoustic panels into your design, taking your DIY project to the next level.
Total Time: 4 hours 30 minutes
Estimated Cost: $100 – $250
Difficulty Level: Intermediate
Tools Required
- Circular Saw (for cutting lumber)
- Drill (with screwdriver bits)
- Measuring Tape (for accurate measurements)
- Level (to ensure panels are straight)
- Pencil (for marking walls)
- Utility Knife (with extra blades)
Supplies & Materials
- 2-in x 4-in lumber (for framing)
- 3/4-in plywood (for panel backing)
- Paneling nails (1 1/2 inches long)
- Wood glue (for extra hold)
- Finishing nails (1 inch long)
- Paint or stain (optional for finishing)
Step-by-Step Instructions
- 1. First, gather your materials, which should include the wall panels themselves, a measuring tape, a level, a pencil, a saw or cutting tool, and any necessary adhesive or fasteners. Make sure you have all the tools and materials before you start to avoid any last-minute trips to the hardware store.
- 2. Next, prepare the wall by cleaning it thoroughly and removing any outlet covers or switch plates. This will give you a smooth surface to work with and prevent any debris or obstacles from getting in the way of your DIY project.
- 3. Then, measure the area where you want to install the wall panels, taking note of any obstacles or irregularities in the wall. Use your measuring tape to get accurate dimensions, and consider making a sketch or diagram to help you plan the layout of your panels.
- 4. After that, cut the wall panels to size using your saw or cutting tool. Be sure to wear protective gear, such as gloves and safety glasses, and follow all safety guidelines for your specific tool. If you’re not comfortable cutting the panels yourself, consider enlisting the help of a friend or hiring a professional.
- 5. Once your panels are cut, apply the necessary adhesive or fasteners to the back of each panel, following the manufacturer’s instructions. Then, begin installing the panels, starting from the center of the wall and working your way outwards. Use your level to ensure the panels are straight and your pencil to mark any necessary guidelines.
- 6. As you install each panel, make sure to leave a small gap between it and the next one to allow for expansion and contraction. This will help prevent the panels from buckling or warping over time due to changes in temperature or humidity.
- 7. Finally, add any finishing touches, such as trimming or molding, to cover the edges of the panels and create a seamless look. Stand back and admire your handiwork – with these steps, you should be able to achieve a beautiful, professional-looking result with your DIY wall panels.
Revamp With Diy Wall Panels
To truly breathe new life into your space, consider combining your DIY project with other modern interior design trends. For instance, pairing your new wall feature with reclaimed wood paneling can add a touch of warmth and character to the room. This blend of old and new elements can create a unique and captivating atmosphere, making your space stand out.
When it comes to smaller rooms, it’s essential to think about how your DIY project will affect the overall ambiance. Paneling for small rooms requires a thoughtful approach to ensure the space doesn’t feel claustrophobic. One solution is to use lighter colors or acoustic wall panel installation to create a sense of airiness while also improving the room’s sound quality.
For a more polished look, explore different wooden wall decor ideas that can complement your DIY wall panels. You can also delve into diy soundproofing solutions to enhance the functionality of your space. By merging style and practicality, you can create a space that is both beautiful and functional, perfect for relaxation or productivity.
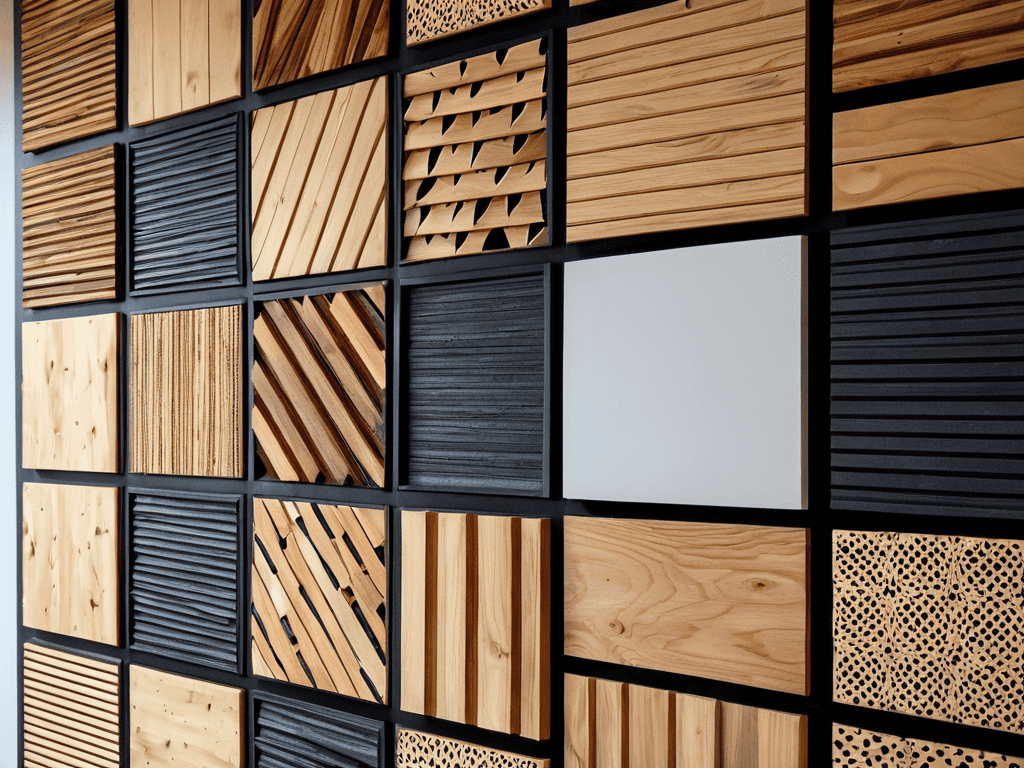
Acoustic Panels for Soundproofing
To take your space to the next level, consider incorporating acoustic panels for soundproofing. These panels are a must-have for home theaters, music rooms, or even just for reducing echo in large rooms. By adding acoustic panels, you can significantly improve the sound quality and create a more intimate atmosphere.
Using DIY wall panels as acoustic panels is a clever way to kill two birds with one stone – you get to enhance your space’s aesthetic while also improving its acoustics. Look for materials with sound-absorbing properties, such as thick fabrics or acoustic foams, to create effective soundproofing panels that blend seamlessly into your decor.
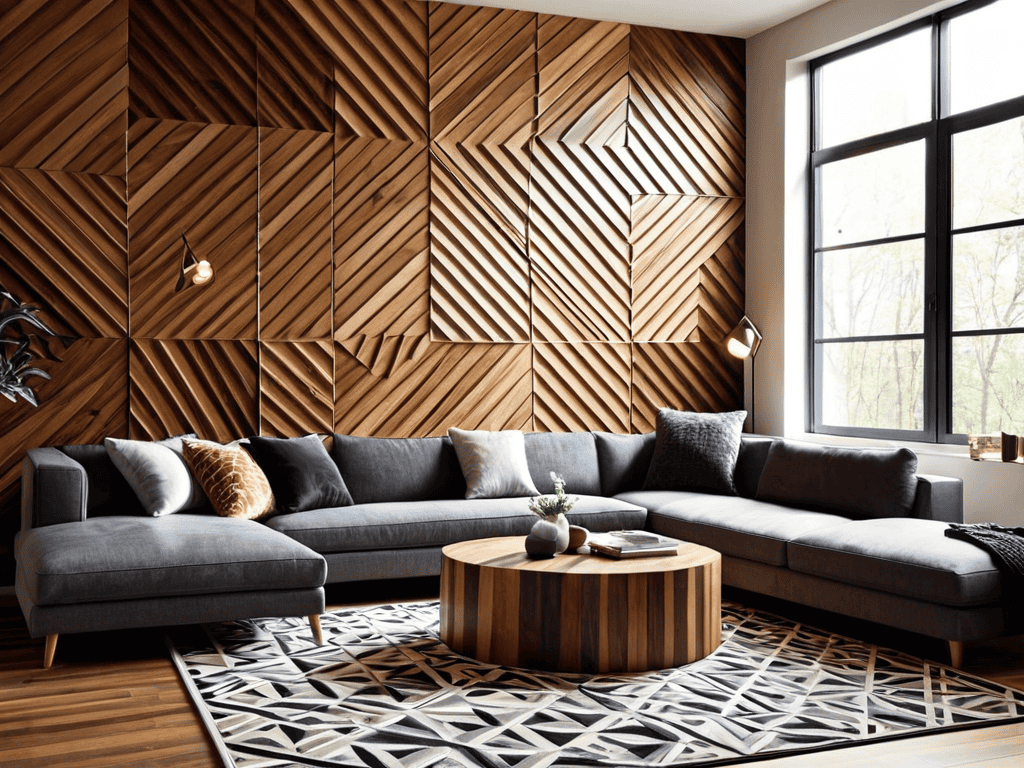
Reclaimed Wood for Modern Charm
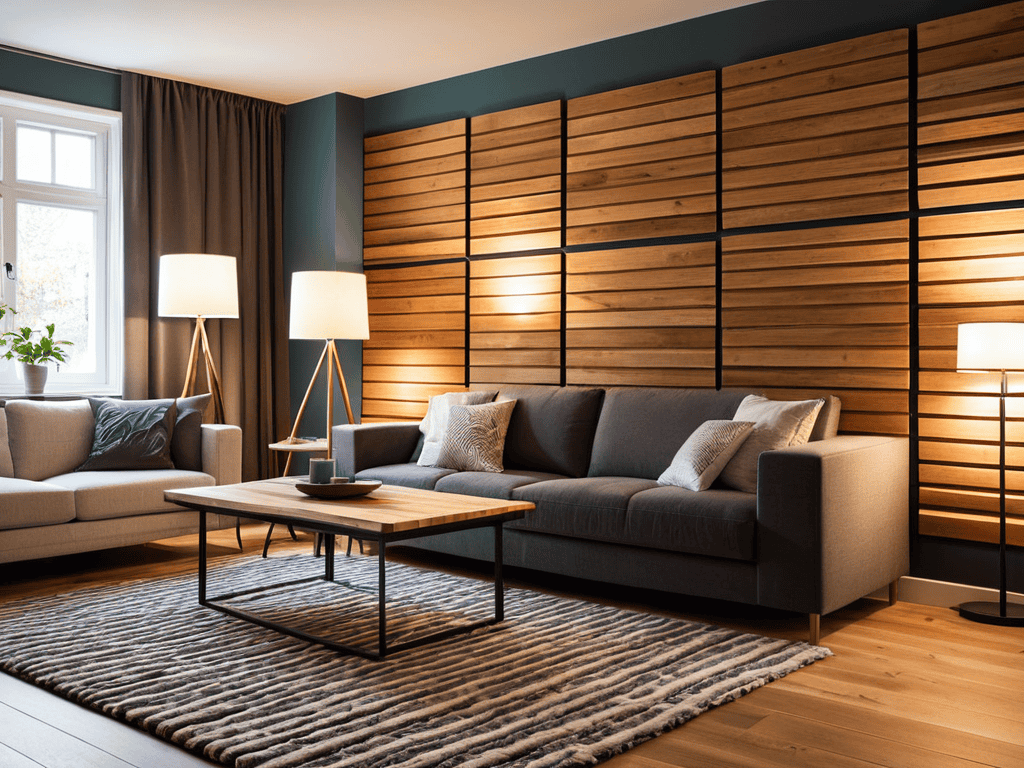
Reclaimed wood adds a touch of modern charm to any room. I’m absolutely loving the way it can instantly elevate a space from bland to grand. By incorporating reclaimed wood into your DIY wall panels, you can create a unique, rustic aesthetic that’s perfect for adding some personality to your walls. The distressed look of reclaimed wood brings a sense of history and character to your space, making it feel cozier and more inviting.
You can use reclaimed wood to create a statement wall, or add it as an accent to your existing decor. Either way, it’s sure to make a big impact. Plus, reclaimed wood is a great way to recycle and reuse old materials, making it a sustainable choice for your DIY project.
5 Essential Tips to Elevate Your DIY Wall Panel Game
- Measure Twice, Cut Once: Double-check your wall dimensions and panel cuts to avoid costly mistakes and ensure a seamless installation
- Mix and Match Materials: Combine different textures and materials, like wood, metal, and fabric, to add depth and visual interest to your DIY wall panels
- Lighting Makes a Difference: Consider installing LED strips or backlights to highlight your DIY wall panels and create a unique ambiance in the room
- Start Small and Scale Up: Begin with a single accent wall or a small section, and then expand your DIY wall panel project to other areas of the room or house
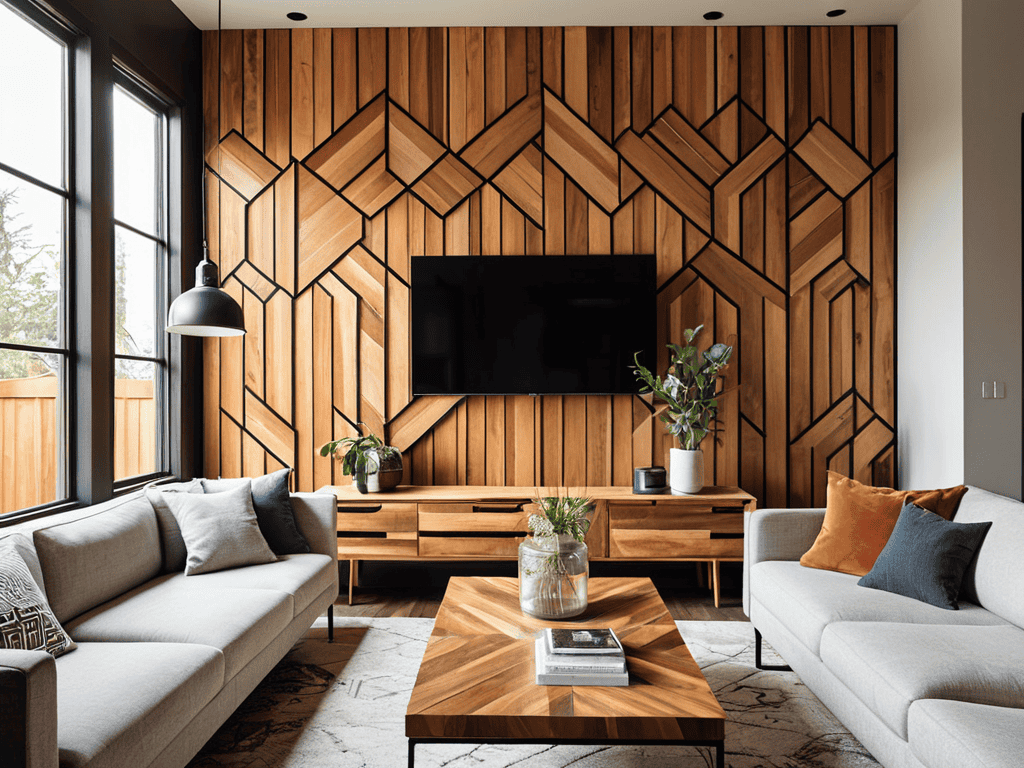
- Get Creative with Patterns: Experiment with different patterns, such as chevrons, herringbone, or geometric shapes, to give your DIY wall panels a one-of-a-kind look that reflects your personality
Key Takeaways for a Stunning DIY Wall Panel Makeover
I can completely transform my space with DIY wall panels, from adding a touch of modern charm with reclaimed wood to soundproofing with acoustic panels
By choosing the right materials and designs, I can not only enhance the aesthetic of my walls but also improve the functionality of my room
With a little creativity and some straightforward DIY instructions, I can breathe new life into my dull walls and create a unique, personalized atmosphere that reflects my style
A Word of Wisdom
There’s something therapeutic about transforming a blank wall into a work of art with DIY wall panels – it’s not just decoration, it’s a declaration of your personal style!
Lily
Bringing It All Together
As we’ve explored the world of DIY wall panels, it’s clear that they offer a versatile and cost-effective way to revamp any room. From adding a touch of modern charm with reclaimed wood to improving sound quality with acoustic panels, the possibilities are endless. We’ve covered the step-by-step process of creating your own DIY wall panels, and delved into the benefits of using them to breathe new life into your space. Whether you’re looking to make a bold statement or simply want to add some texture and depth to your walls, DIY wall panels are an excellent choice.
So, as you embark on your own DIY wall panel journey, remember to let your creativity shine and don’t be afraid to experiment with different materials and designs. With a little patience and imagination, you can transform your walls into a unique and beautiful reflection of your personal style, making your space truly one-of-a-kind.
Frequently Asked Questions
What are the most durable materials to use for DIY wall panels?
Honestly, I swear by materials like solid wood, MDF, and bamboo for their durability and versatility – they can withstand the test of time and still look amazing!
Can I use DIY wall panels to cover uneven or damaged walls?
Absolutely, DIY wall panels are a fantastic solution for covering uneven or damaged walls. They can instantly conceal imperfections, and with the right design, even add a decorative touch to the room. Plus, they’re often easier to install than traditional renovation methods, making them a total win-win for a quick fix.
How do I ensure a seamless finish when installing multiple DIY wall panels together?
To achieve a seamless finish, make sure to align the panels carefully and use a level to ensure they’re straight. I like to use a small gap filler or caulk to fill in any tiny gaps between panels, and then touch up with paint or stain to match. It’s all about the details!